Maker Competencies

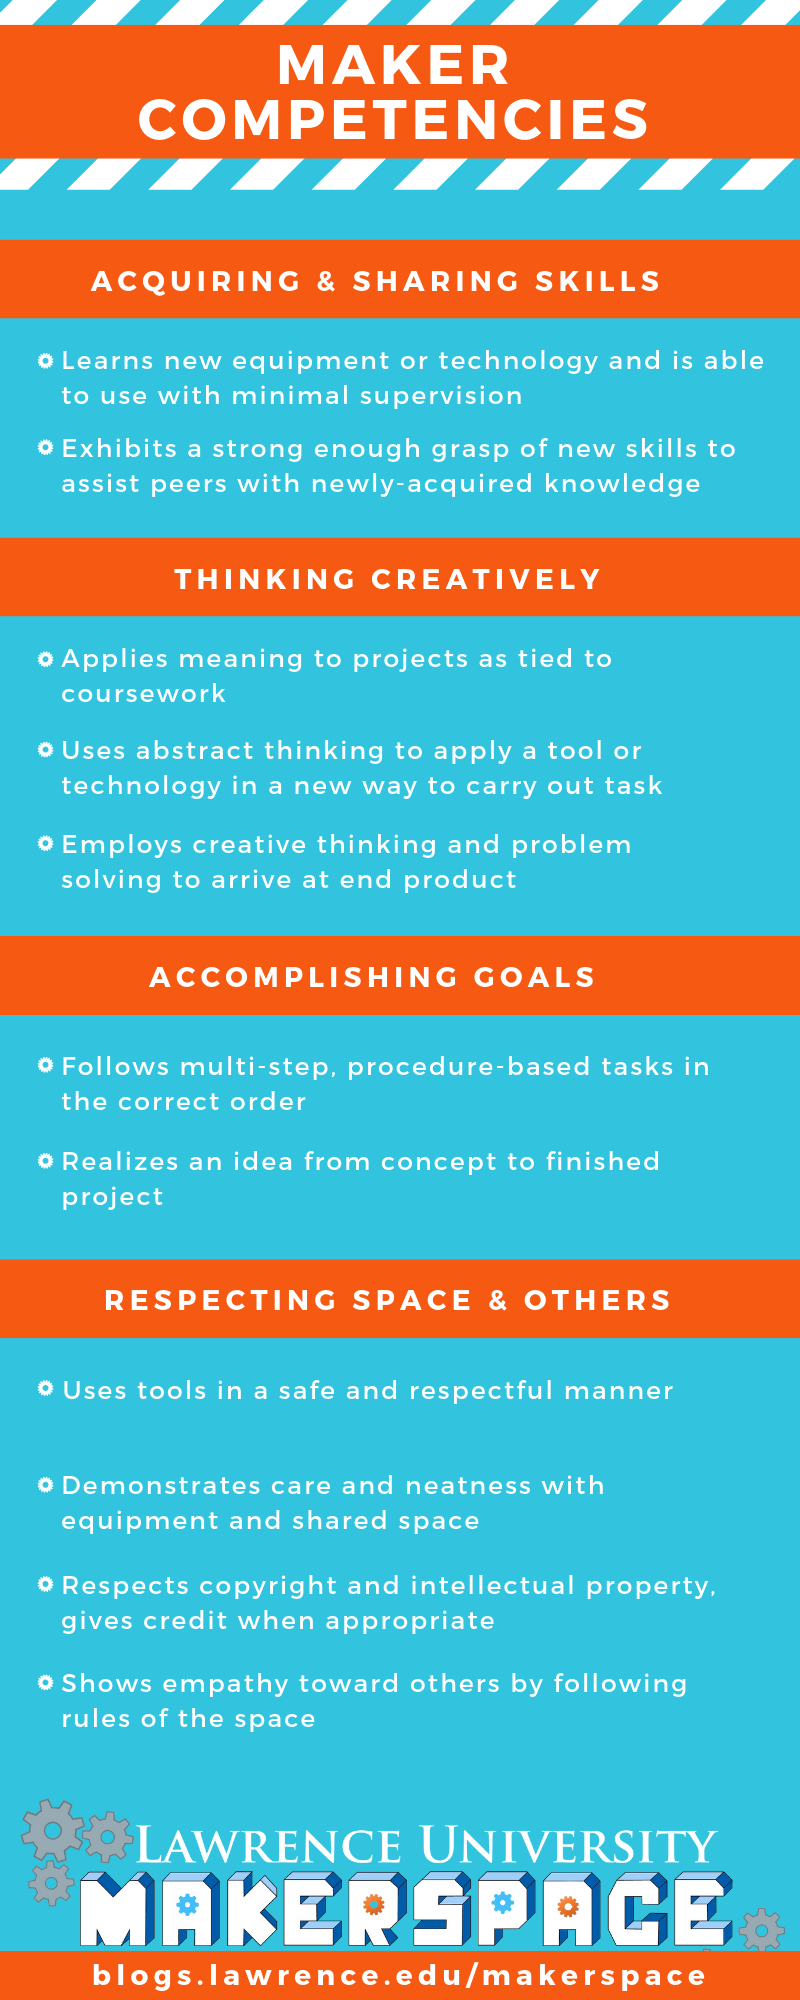
To help our faculty create assignments that use the makerspace and have easily assessable outcomes, we’ve put together some Maker Competencies.

Click on image to see a larger version of the competencies in Flickr.

ACQUIRING & SHARING SKILLS:

  • Learns new equipment or technology and is able to use with minimal supervision
  • Exhibits a strong enough grasp of new skills to assist peers with newly-acquired knowledge

THINKING CREATIVELY:

  • Applies meaning to projects as tied to coursework
  • Uses abstract thinking to apply a tool or technology in a new way to carry out task
  • Employs creative thinking and problem solving to arrive at end product

ACCOMPLISHING GOALS:

  • Follows multi-step, procedure-based tasks in the correct order
  • Realizes an idea from concept to finished project

RESPECTING SPACE & OTHERS:

  • Uses tools in a safe and respectful manner
  • Demonstrates care and neatness with equipment and shared space
  • Respects copyright and intellectual property, gives credit when appropriate
  • Shows empathy toward others by following rules of the space

We hope these competencies will help makerspace educators, teachers, professors, etc. come up with fun, inspiring, hands-on assignments with outcomes that can be easily assessed!

AR & VR Technology

By Nijes Uparati

Augmented Reality (AR) and Virtual Reality (VR) are buzzwords these days; literally every magazine and newspaper has articles boasting the AR/VR craze. But where do we really stand on the AR/VR development? What are its implications? And what sort of applications should we really seek? These are questions troubling the scientists and developers alike who delve deeper into their disciplines to invent and design technologies that are on par with current technological needs.

Just as a brief overview: VR is a interactive technology generated within a simulated environment that embraces the elements of real world but limits interactions within the digital. AR on the other hand is a technology that allows the augmentation of our everyday interaction with real world with various sensory modalities such haptics, auditory or visual. We are going to alternate between both technological sides to post mixed finding on the subject matter. 

How is the art world benefited by the recent advances in VR/AR technology?
Recently a digital museum opened in Tokyo, Japan. This museum is a collaborative work of individuals from various disciplines including computer science, art, and human-computer interaction to name a few. The museum, hosted in a space of 10,000 square meter, is operated by using the about 520 computers and 470 projectors working in sync to create amazing visual experience for the visitors.

VR as an Art Medium
Recent advances in VR technology has paved ways for exploring the art domain with mediums that are far from the traditional. One such technological breakthrough is the idea of art in 3D digital space. Google’s Tilt brush technology combined with commercially available VR headsets like HTC VIVE and OCULUS RIFT could equip artists with an entirely new way to explore the art world.

From Wall-Following to Full Autonomy

By Wenchao Liu

When I was a happy college student at Lawrence, I made a wall-following RC car. The project was truly a blessing, because it led me to many amazing people such as Prof. Stoneking and Angela. My theoretical-physicist-turned-computer-scientist professor, Prof. Gregg, helped me a lot during the process as well. My presentation day was one of my proudest days, as I was showing a room of my professors that I was actually not that dumb. 

It’s been a year since that presentation day, and I am still living in the past. Currently I am building the second version of the car, following instructions on f1tenth.org. The second version has quite a few improvements over the first one, and I have learned quite a lot so far. This post is about such improvements and what I plan to do in the future. It’s like the project proposal I gave in college, which wasn’t fully executed.

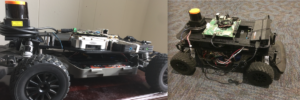
The most obvious improvement is a mechanical one. The previous build has two layers of plastics, which are connected also by plastics. As a result, the build is not rugged and glue was frequently applied. The new build has only one layer of plastics, and it’s mounted on a lower level than the base layer of the old build.

Just One Layer!

The electrical improvement is less obvious, but still visible. I had to changed the brushed motor to a brushless one, and to buy a VESC to control that. Thus, a Teensy micro-controller is not longer needed, as the computer can just control the VESC directly. The second build also uses an Orbitty carrier board, which has a smaller form factor than the previous one. Form factor; what a jargon word!

Can you tell which one is the current one?

The software improvement is not even visible as all, but it’s always been most frustrating. Although the only functionality I had with the previous build was wall-following, the car could actually do a lot more. The main functionalities I am trying to implement now are mapping with Lidar, localizing the car, generating and following waypoints. That’s where the f1tenth.org stops, but I won’t stop learning for a long time!

Stay tuned!

How to Create Gingerbread House Molds

By Wenchao Liu

When I visiting the Phoenix area this fall, I had the opportunity to engage in a holiday tradition—making gingerbread houses. One of the steps of making gingerbread houses is to cut out various pieces from the dough. Since I was making six houses, I thought that it would be so much easier if I could just 3D print the molds. That way, I wouldn’t need to cut the dough anymore; I could just press the molds against the dough.

The first step was to sketch different parts of the house. It was not a difficult challenge, but one of the things I had to keep in mind was about how the 3D prints should look like. For instance, it’d not be possible to create a mold with windows, because the windows would need to be somehow connected to the door frame. Thus, I sketched the windows separately.
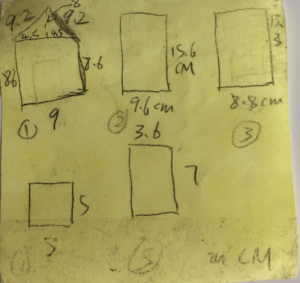
Functionality > Beauty

After I designed the 3D prints, I used Tinkercad to model them. Most of the shapes are simply rectangles, so I used the Cube shape from Basic Shapes and simply changed the sides to 4. After that, I decreased the values of Wall Thickness, Bevel, and Bevel Segments to their corresponding minimum values. Since some of the shapes are quite big, I put some small ones inside big ones, so I could print them out all at once.
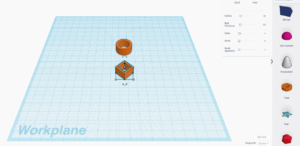
Using the Tube Shape

The real challenging part was modeling the main door of the house. As you can see from my rough design sketch, it wasn’t a usual shape. Thus, I created a triangle in a similar fashion using the Cube shape, but this time I changed the sides to 3 instead of 4, and laid it on top of a rectangle. The way I got ride of the line in the middle of the house was through the use of the “Hole” feature—I simply put a big box to cover the line and made it “Hole.”
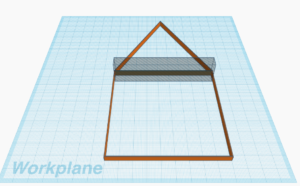
Using “Hole”

Well, when I actually printed out one piece, it was such a failure! One thing that went wrong was the roof of the house wasn’t printed out, for whatever reason. The second thing was that the wall was too thin that it might be too weak to cut through even dough. The third thing was that the wall was too short that it might get buried in the dough. Overall, the structure is like me, an 80-pound man.
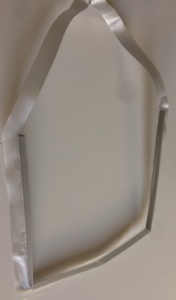
What a Joke

When I was in agony, Angela showed up at the right time, and I complained to her. She suggested that I look for online resources. She also drew me a sketch that I didn’t understand at all, but it was an inspiration. I drove back to the Chicago area that day with tears in my eyes.
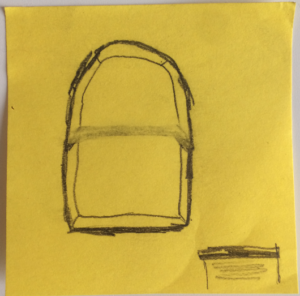
Angela’s Inspirational Sketch

When I got back home, I started working on it again. Per her instructions, I first searched on Thingiverse and found a few designs. By modifying one of the designs, I got a complete set of the shapes I wanted. It took me only about half an hour!
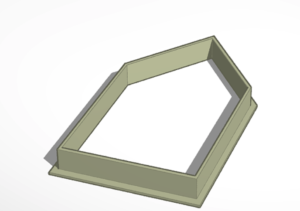
Great Artists Steal

However, the thickness of the wall is constant, but I wanted it sharply shaped. This so-called roof shape got my attention; it could be a good shape to use! I put together four pieces of roofs of the same length to form a square. Grouping the four pieces and using the square as a template, I could easily create the rectangles I wanted. Creating the big piece was a bit more challenging, especially the top part, because the two roofs had to come together at the correct angle. I had to open my kindergarten math book and figure out the correct angle for that.
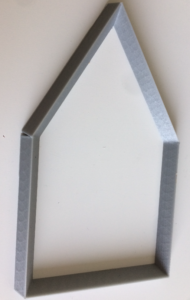
Math Is Cool

In the end, I successfully created the molds for making gingerbread houses. When I was actually printing out the pieces, I used two 3D printers simultaneously, because I was on a time budget. That’s the tip of the day: use multiple printers to speed up the process!

One last thing I want to mention is food safety. Since the molds are only intended to contact food for a very short period of time, food safety shouldn’t be an issue. However, it might not be wise to use 3D printed cups or containers, because their food safety hasn’t been studies yet.
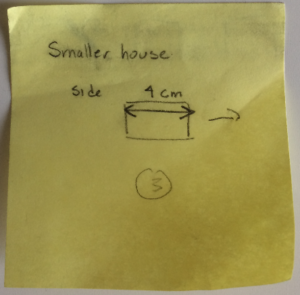
Smaller ones were very weak, so I didn’t want to write about them.