3D scanning of museum collections is an awesome use of 3D technologies that provides a way to share rare items with the world. Many museums and libraries have been sharing 3D scans of their collections, leading to an amazing selection of historical artifacts that can be viewed in a web browser, virtual reality headsets, and often even downloaded and 3D printed. Many can be found in Sketchfab’s collection of Cultural Heritage and History items and Scan the World’s collections in Myminifactory.
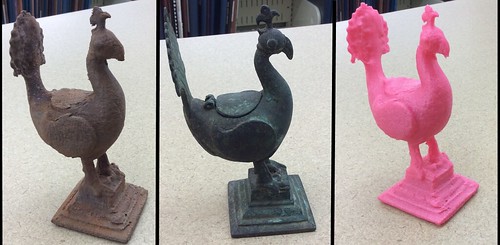
All three peacocks (original in the center)
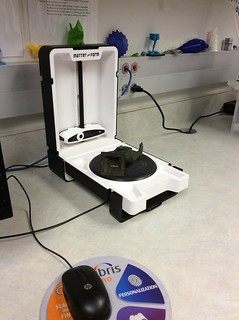
This summer, we did a little experiment with 3D scanning an item from the collection of the Lawrence University Wriston Art Center Galleries.
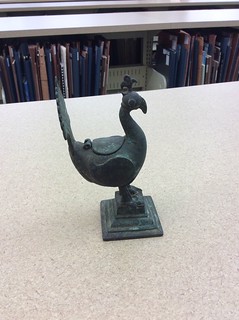
The original, entitled Large inkwell, peacock design
Third scan of the peacock, lying on its side.
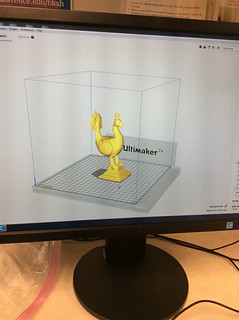
Peacock file in the Cura slicing program.
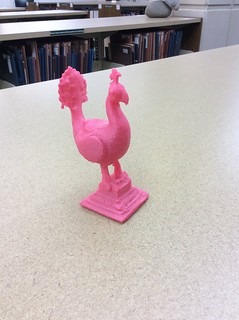
Cupid’s Crush Metallic Pink
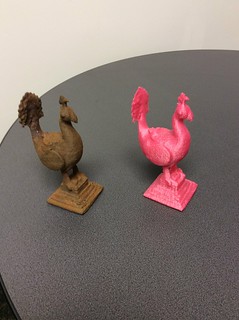
In addition to being magnetic, the iron blend is also rustable. We took the peacock print home for the weekend and used a solution of white vinegar, hydrogen peroxide, and table salt to try to give it an aged, rusted look. We coated the peacock with the solution, placed it in a sealed bread bag, then left it outside in the sun for the afternoon (shaking it occasionally to recoat the object in solution). Full instructions for this process can be found here, Improved Rusting Method for Iron Prints. The final product was pretty impressive, and looked more like something we dug out of the ground than something we had just 3D printed.

Peacock with one of Rob Neilson’s Teddy Box objects printed in the same filament that had not been rusted.
The two replicas together (in different light than the other photos).
Big thank you to our friend Beth Zinsli in the Wriston Art Center galleries for letting us scan one of the collection’s objects.