By: Harsimran Kalsi
 What are viruses and why are they important?
Virology is a field of science that is principally concerned with studying viruses. Viruses are infective biological agents that only reproduce inside the cells of a living host. Viruses are too small to be observed through light microscopy, and typically consist of an intricate protein coat (also known as the “capsid”) which surrounds and contains a strand of nucleic acid (genetic material that encodes the info a virus needs to reproduce).
Viruses are important because they cause some of the most lethal diseases in the world. HIV, Ebola, Rabies, Smallpox, and Influenza are just a few of the deadliest viruses in history. The 1918 flu pandemic alone infected over 500 million people and claimed the lives of 3-5% of the world’s population at that time (“The 1918 Influenza Pandemic”). The pathogenicity of viruses isn’t always human specific either, many viruses can target certain species with particular ecological niches. Understanding how viruses function is crucial in combating these prolific pathogens. What’s more, to understand a virus’s functionality, one must understand its fundamental biochemical composition.
How does structure implicate function?
Viruses share many of the defining characteristics of life and even appear to be as alive as cells in some cases (such as the bacteriophage). However, because viruses cannot survive on their own (without a host) and because they have no self-sustaining methods of metabolism to procure and process energy, they are technically considered to be non-living entities.
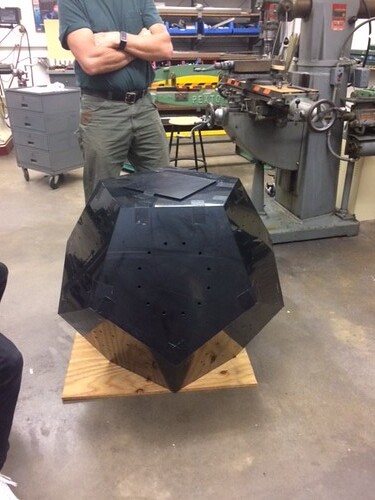
Viruses are amazing for several reasons. One reason is because they are incredibly advanced works of natural nanotechnology. The complex protein structures that form the capsid and the receptors on the capsid, can bind with each other in interesting ways. An icosahedral virus structure for example (such as Rhinovirus) are composed of twenty equilateral triangular subunits that all geometrically fit together. Furthermore, a complex virus structure (such as a Bacteriophage) appears almost like a spider with various appendages.
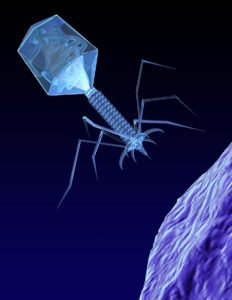
Bacteriophage from fineartamerica.com
The Bacteriophage (also known as a “phage” is a good example of a virus whose structure directly implicates function, and whose behavior makes it seem almost alive. Bacteriophages will infect and replicate within Bacteria and Archaea specifically. Phages are incredibly diverse and can be found anywhere that bacteria are found. Phages will use their spider leg like appendages to attach to bacterial cells (“docking” at very specific receptors on the bacterial cell surface), then the phage “injects” its genetic information into the bacteria where it is incorporated and transcribed. The bacterial cell now translates the genetic information into more phages which are now located within the cell. As a result, the bacterial cell itself has become a factory that produces 100,000s of new phages, until it eventually explodes in an extravagant cellular display. These new phages then go on to continue this process known as a lytic cycle.
What if we could know more about how phages bind to receptors on the surface of bacterial cells? What if we knew the structure of the receptor proteins that the phage binds to? Could we perhaps design allosteric inhibitors that prevent phages from binding to more cells? What if we knew more about the structure of the phages delivery system of genetic information? Could we then use a similar method of targeted delivery with artificial therapies to certain cell types?
In comes 3D printing
The benefit to 3D printing virus structures is that it can promote a better understanding of how certain viruses function. This increased understanding can in turn lead to several future innovations.
Virus structures are biochemically determined, broadly speaking, through a process called x-ray crystallography and diffraction. This process allows scientists to visualize an electron density map of protein/virus structures, and thus, construct a computer model of the proteins. The electron density maps allow scientists to construct the amino acid sequence that is the backbone structure of the protein.
These computer models can then be formatted to be 3D printed in many ways. Different printers and materials will lead to different outcomes. Additionally, certain protein subunits or parts may be of interest and can be printed without the rest of the protein structure. As a result, one can highlight things like active sites, receptor binding domains, and cofactors within active sites.
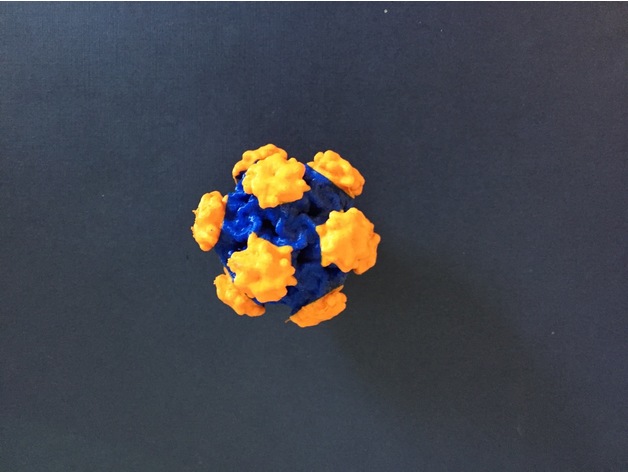
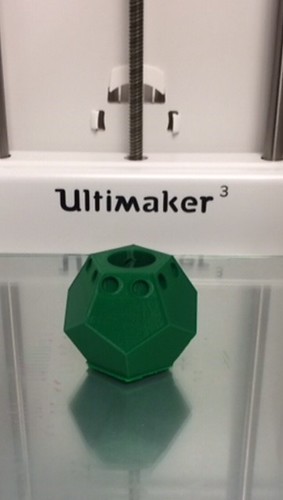
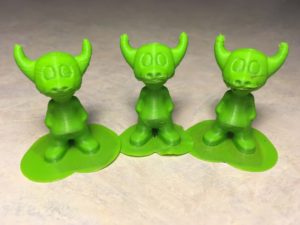
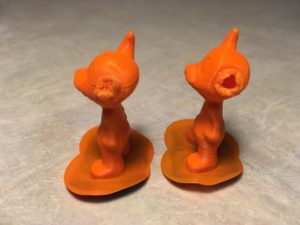
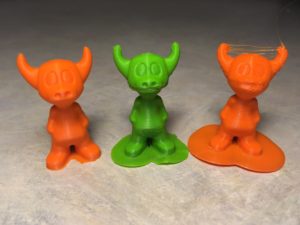
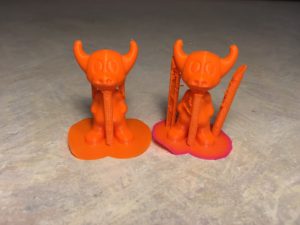
Recently, in collaboration with Dr. Dave Hall and Angela Vanden Elzen, I was able to 3D print a dual color virus structure for Human Papillomavirus (HPV) and Adenovirus. Dual color printing is a unique kind of 3d printing where two colors are incorporated together into a single print. Based on my research, this was the first time that a virus structure was 3d printed in two colors using a 3d printer, under the cost of $100,000. The files were posted onto Thingiverse for the rest of the community to utilize, access them here.
Method of Dual Color Printing Viruses
Initially, to print dual color virus structures, I tried to create my own stl.’s of viruses using a process similar to Dr. Hall’s (as he describes here https://www.thingiverse.com/thing:43144). The key difference, however, was that I was trying to modify the virus structure in Pymol so that different protein subunits could be differentiated from one another. The differentiation at first was through coloring, and the eventual goal was to differentiate them as .stl files. The reasoning seemed pretty straightforward, if we could code into Pymol and differentiate different protein units by color, then theoretically there must be some way we can also code an .stl differentiation into the subunits we colored.
This proved to be a relatively arduous task. Various issues arose as I tried to implement this approach. As a result, I decided to temporarily shift my focus to printing viruses a little more straightforward.
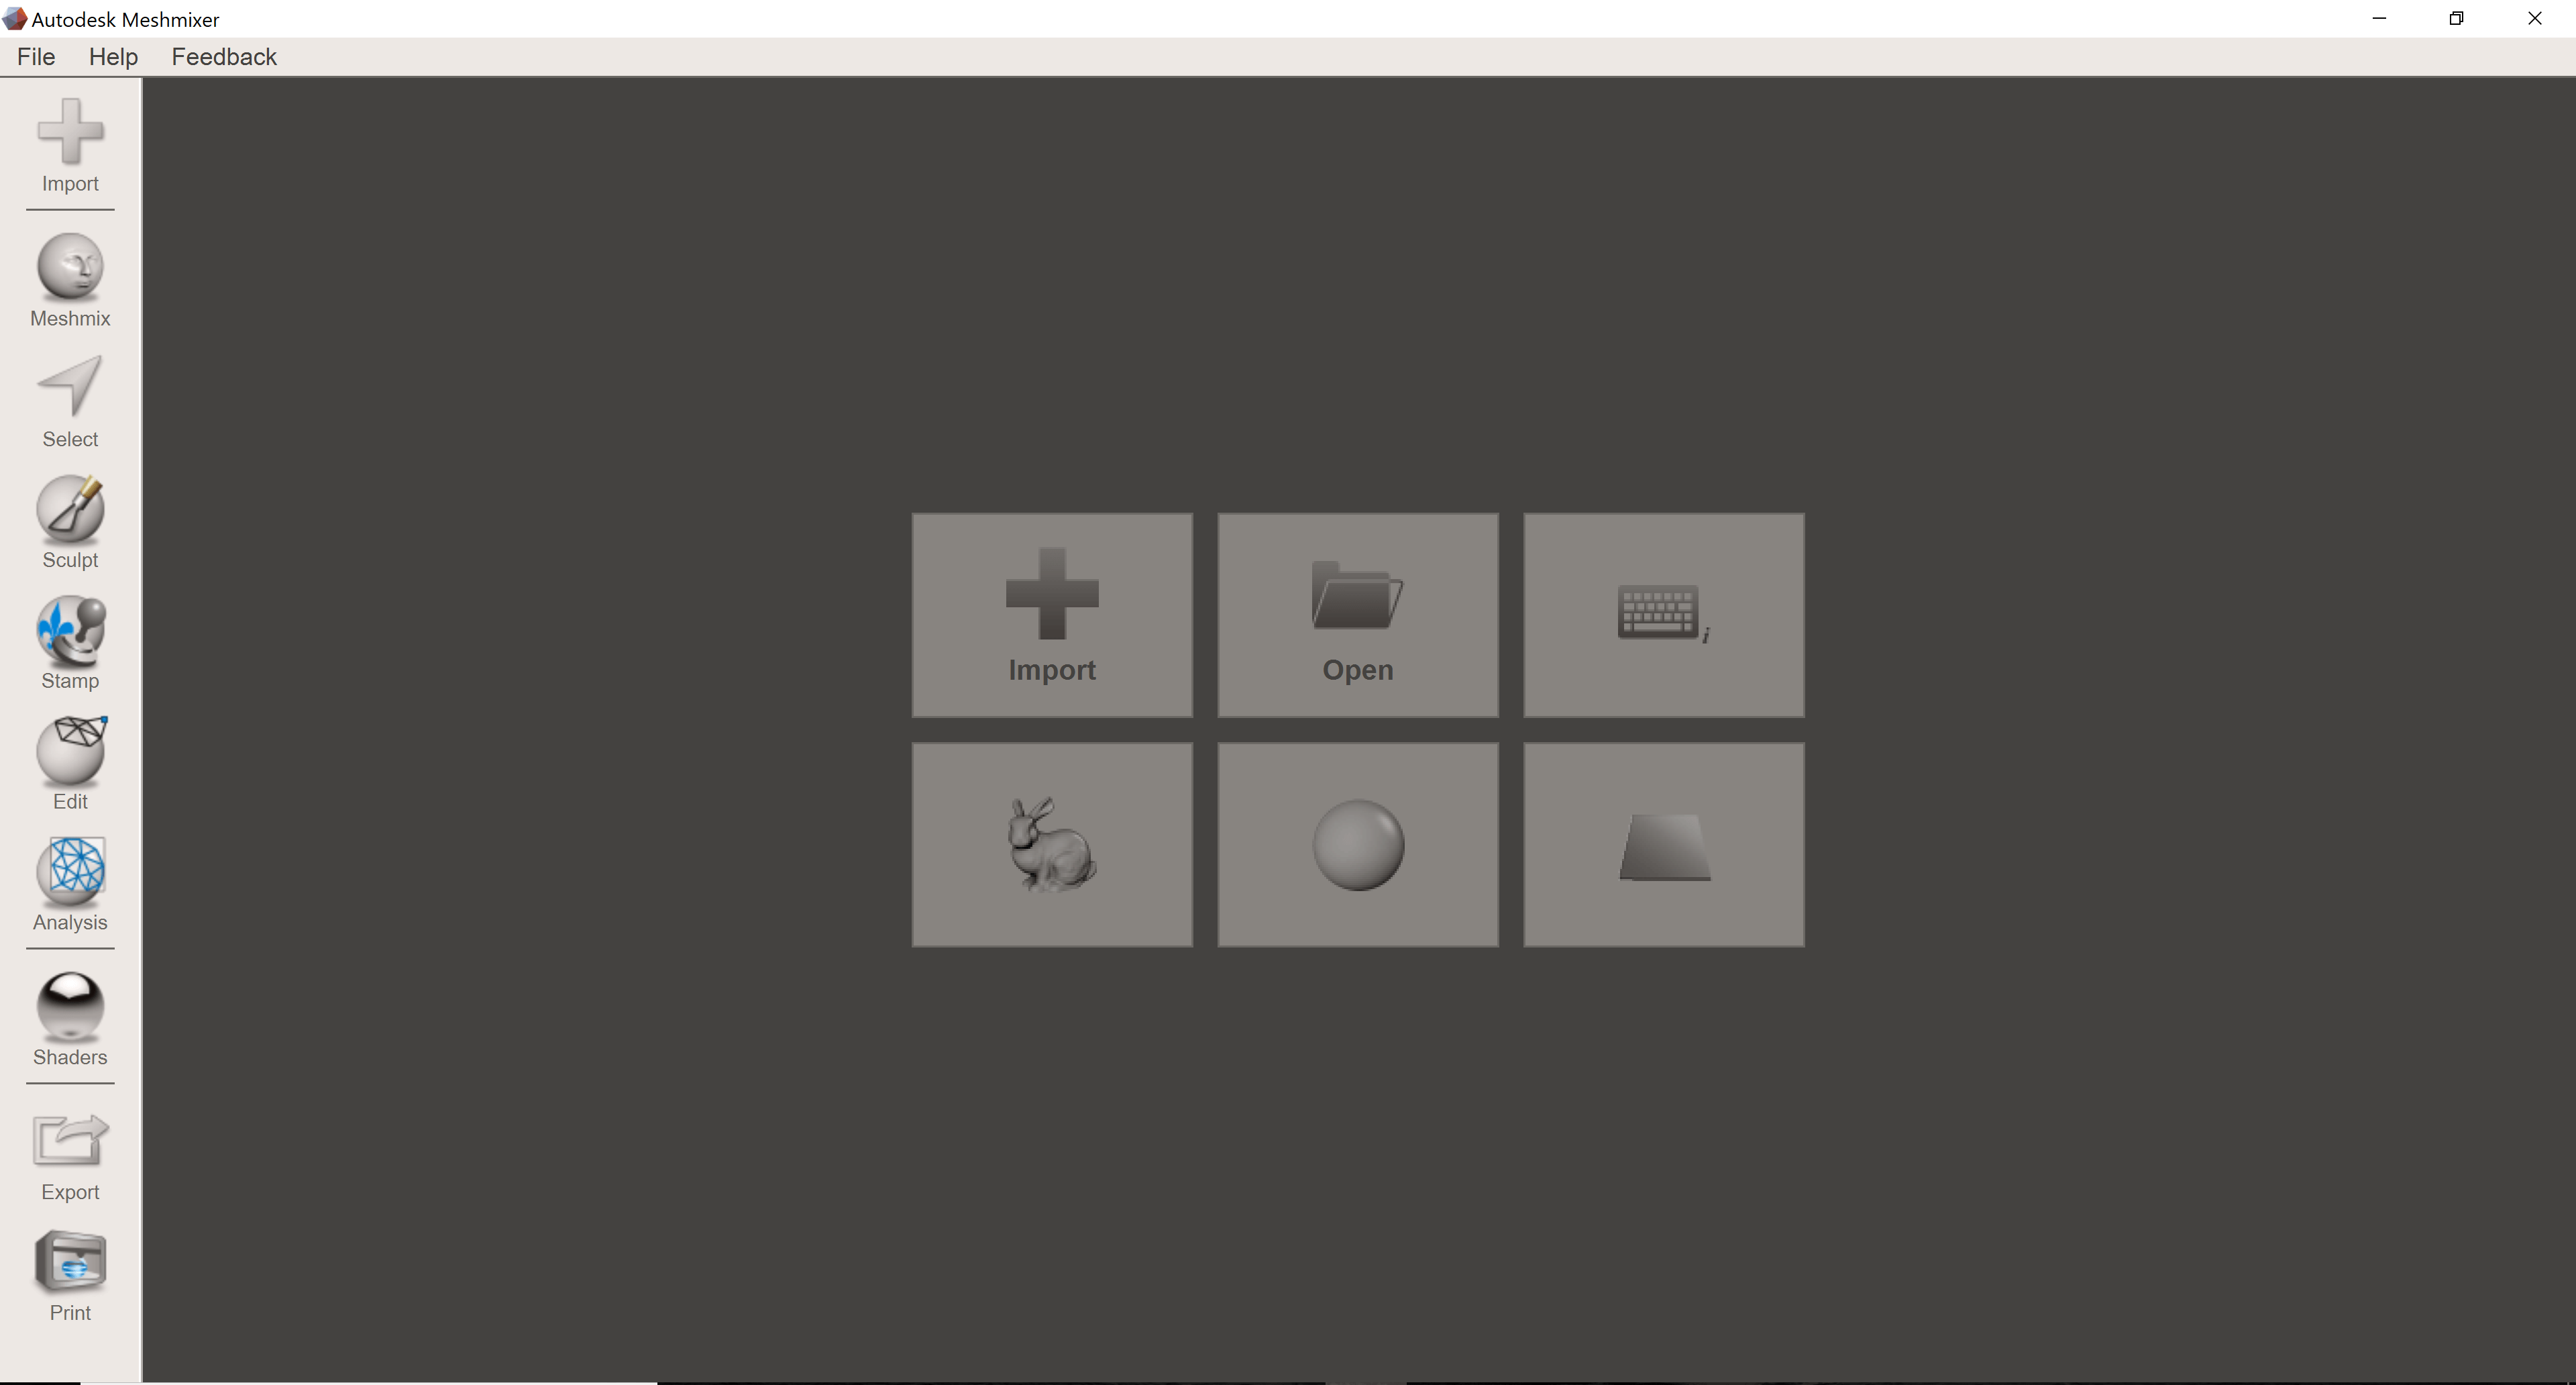
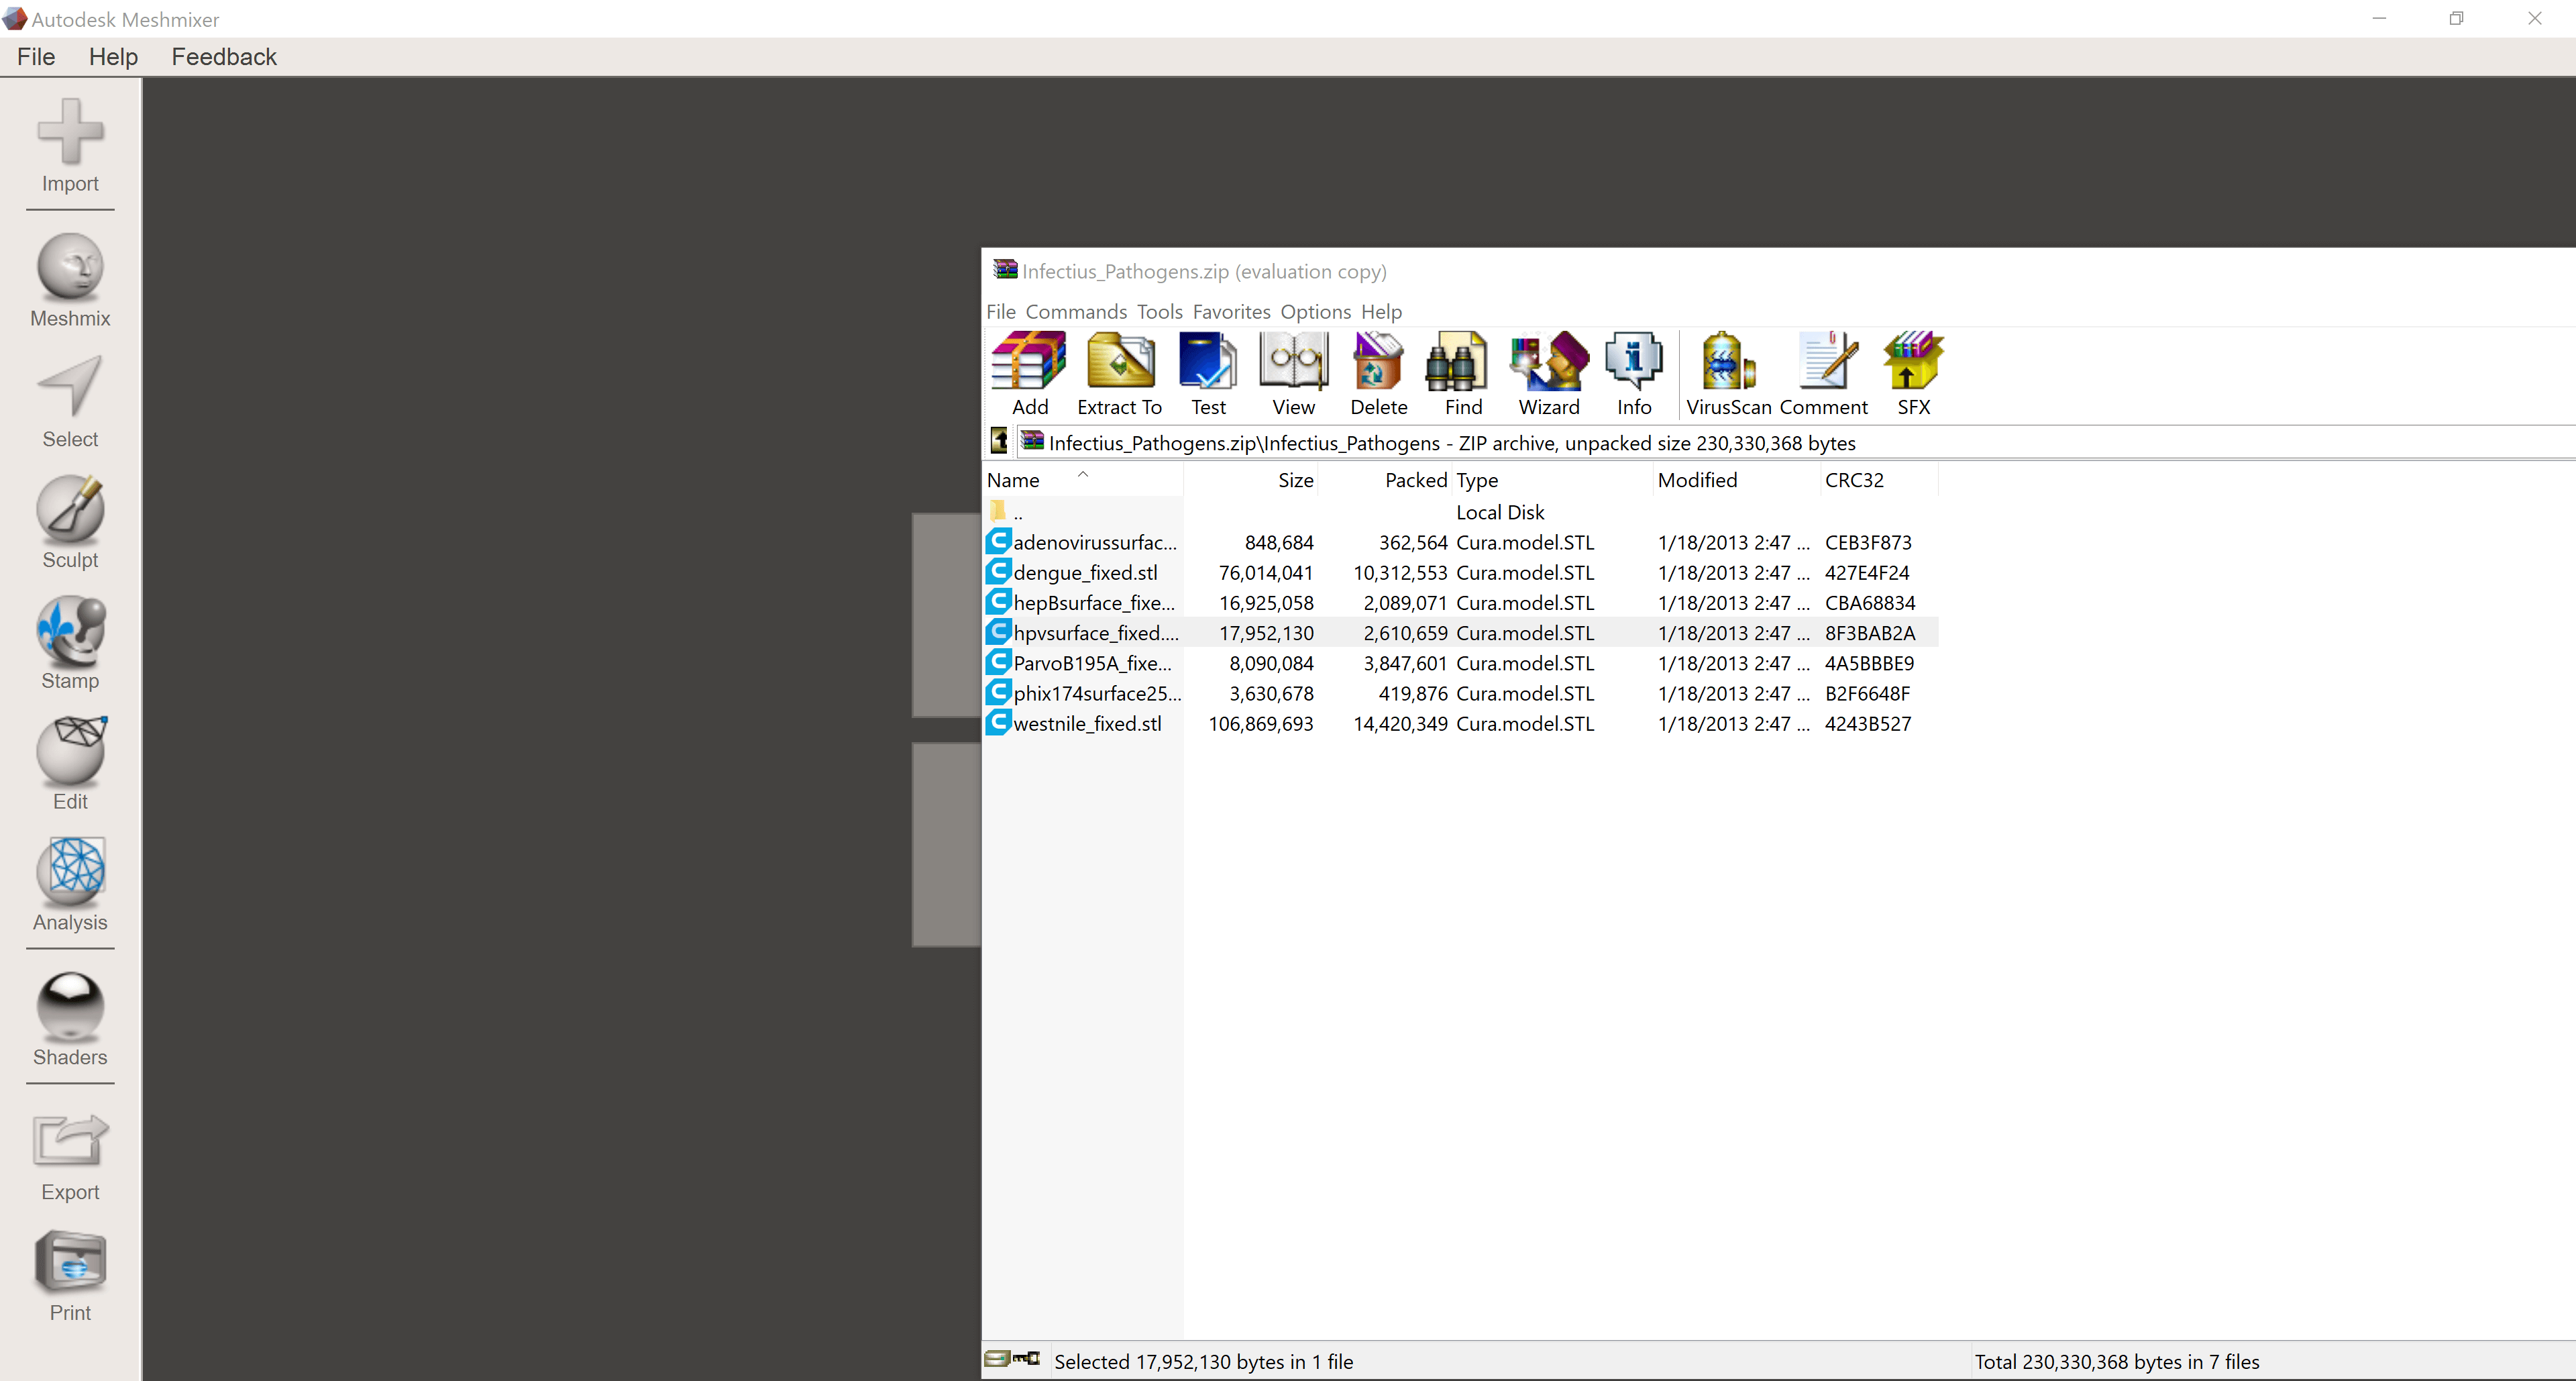
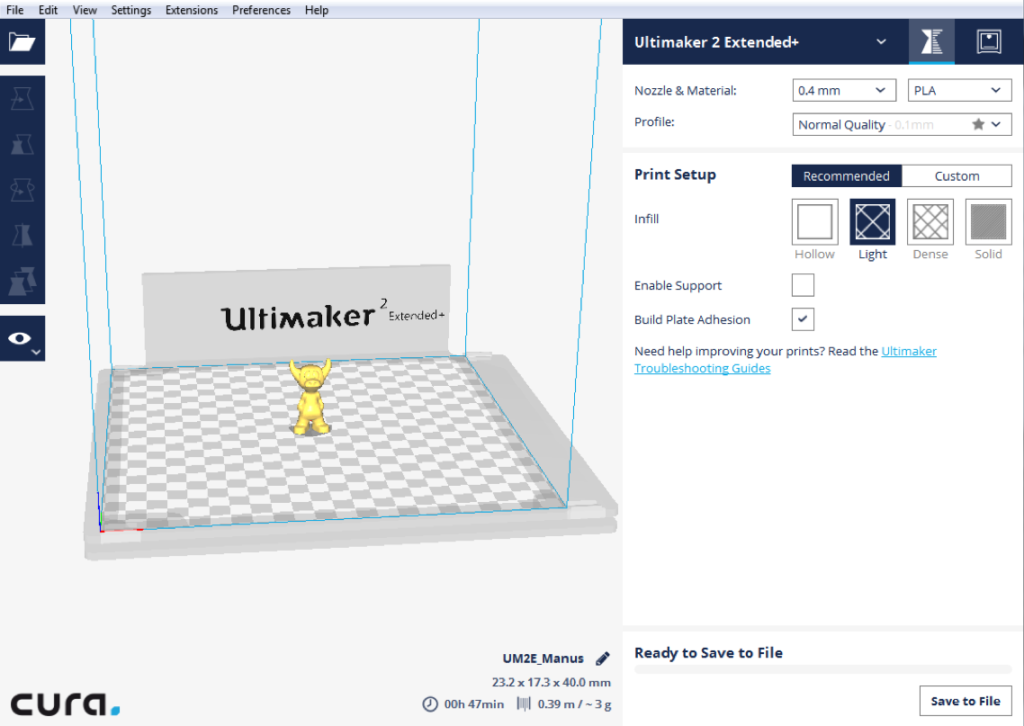
To print the dual color virus structure, I obtained the stl. versions of the viruses from Dr. Hall’s Thingiverse profile (found here). I then loaded the files into a program called, Meshmixer.

Within Meshmixer, I was able to mark all of the protrusions located on HPV and Adenovirus’s capids, such that they were all separate .stls. Meanwhile, the non-protrusion or “base” part of the capsid remained its own .stl.
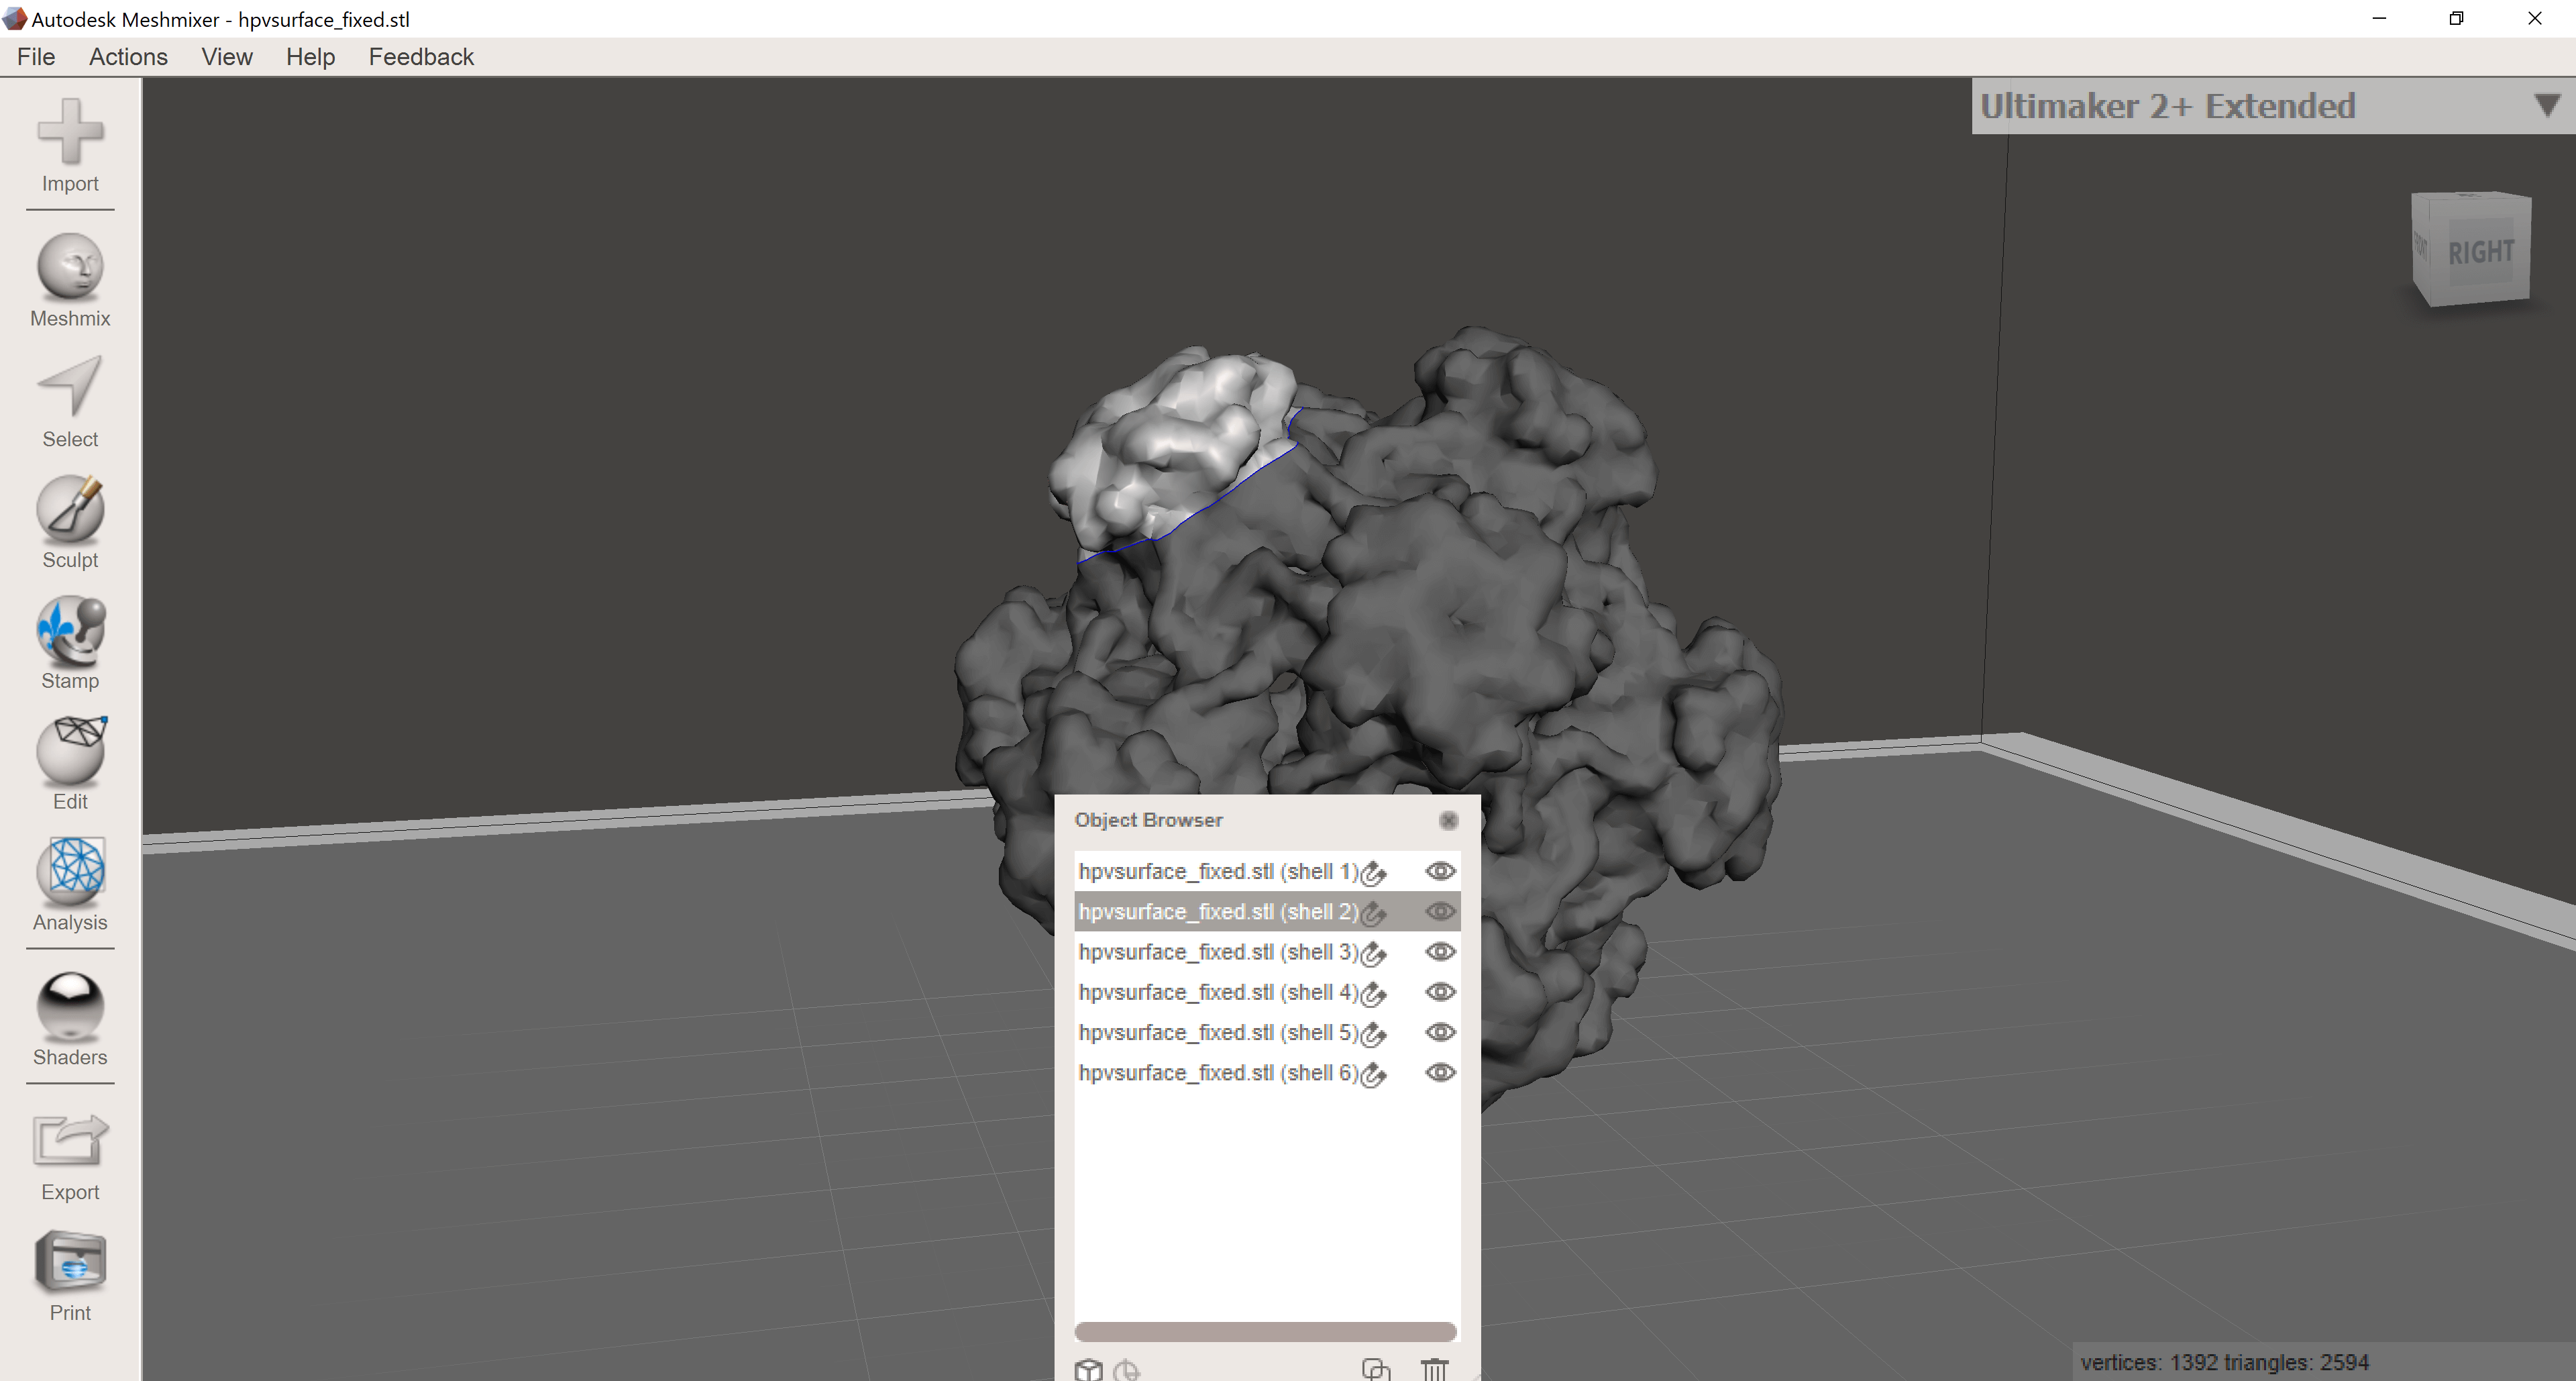

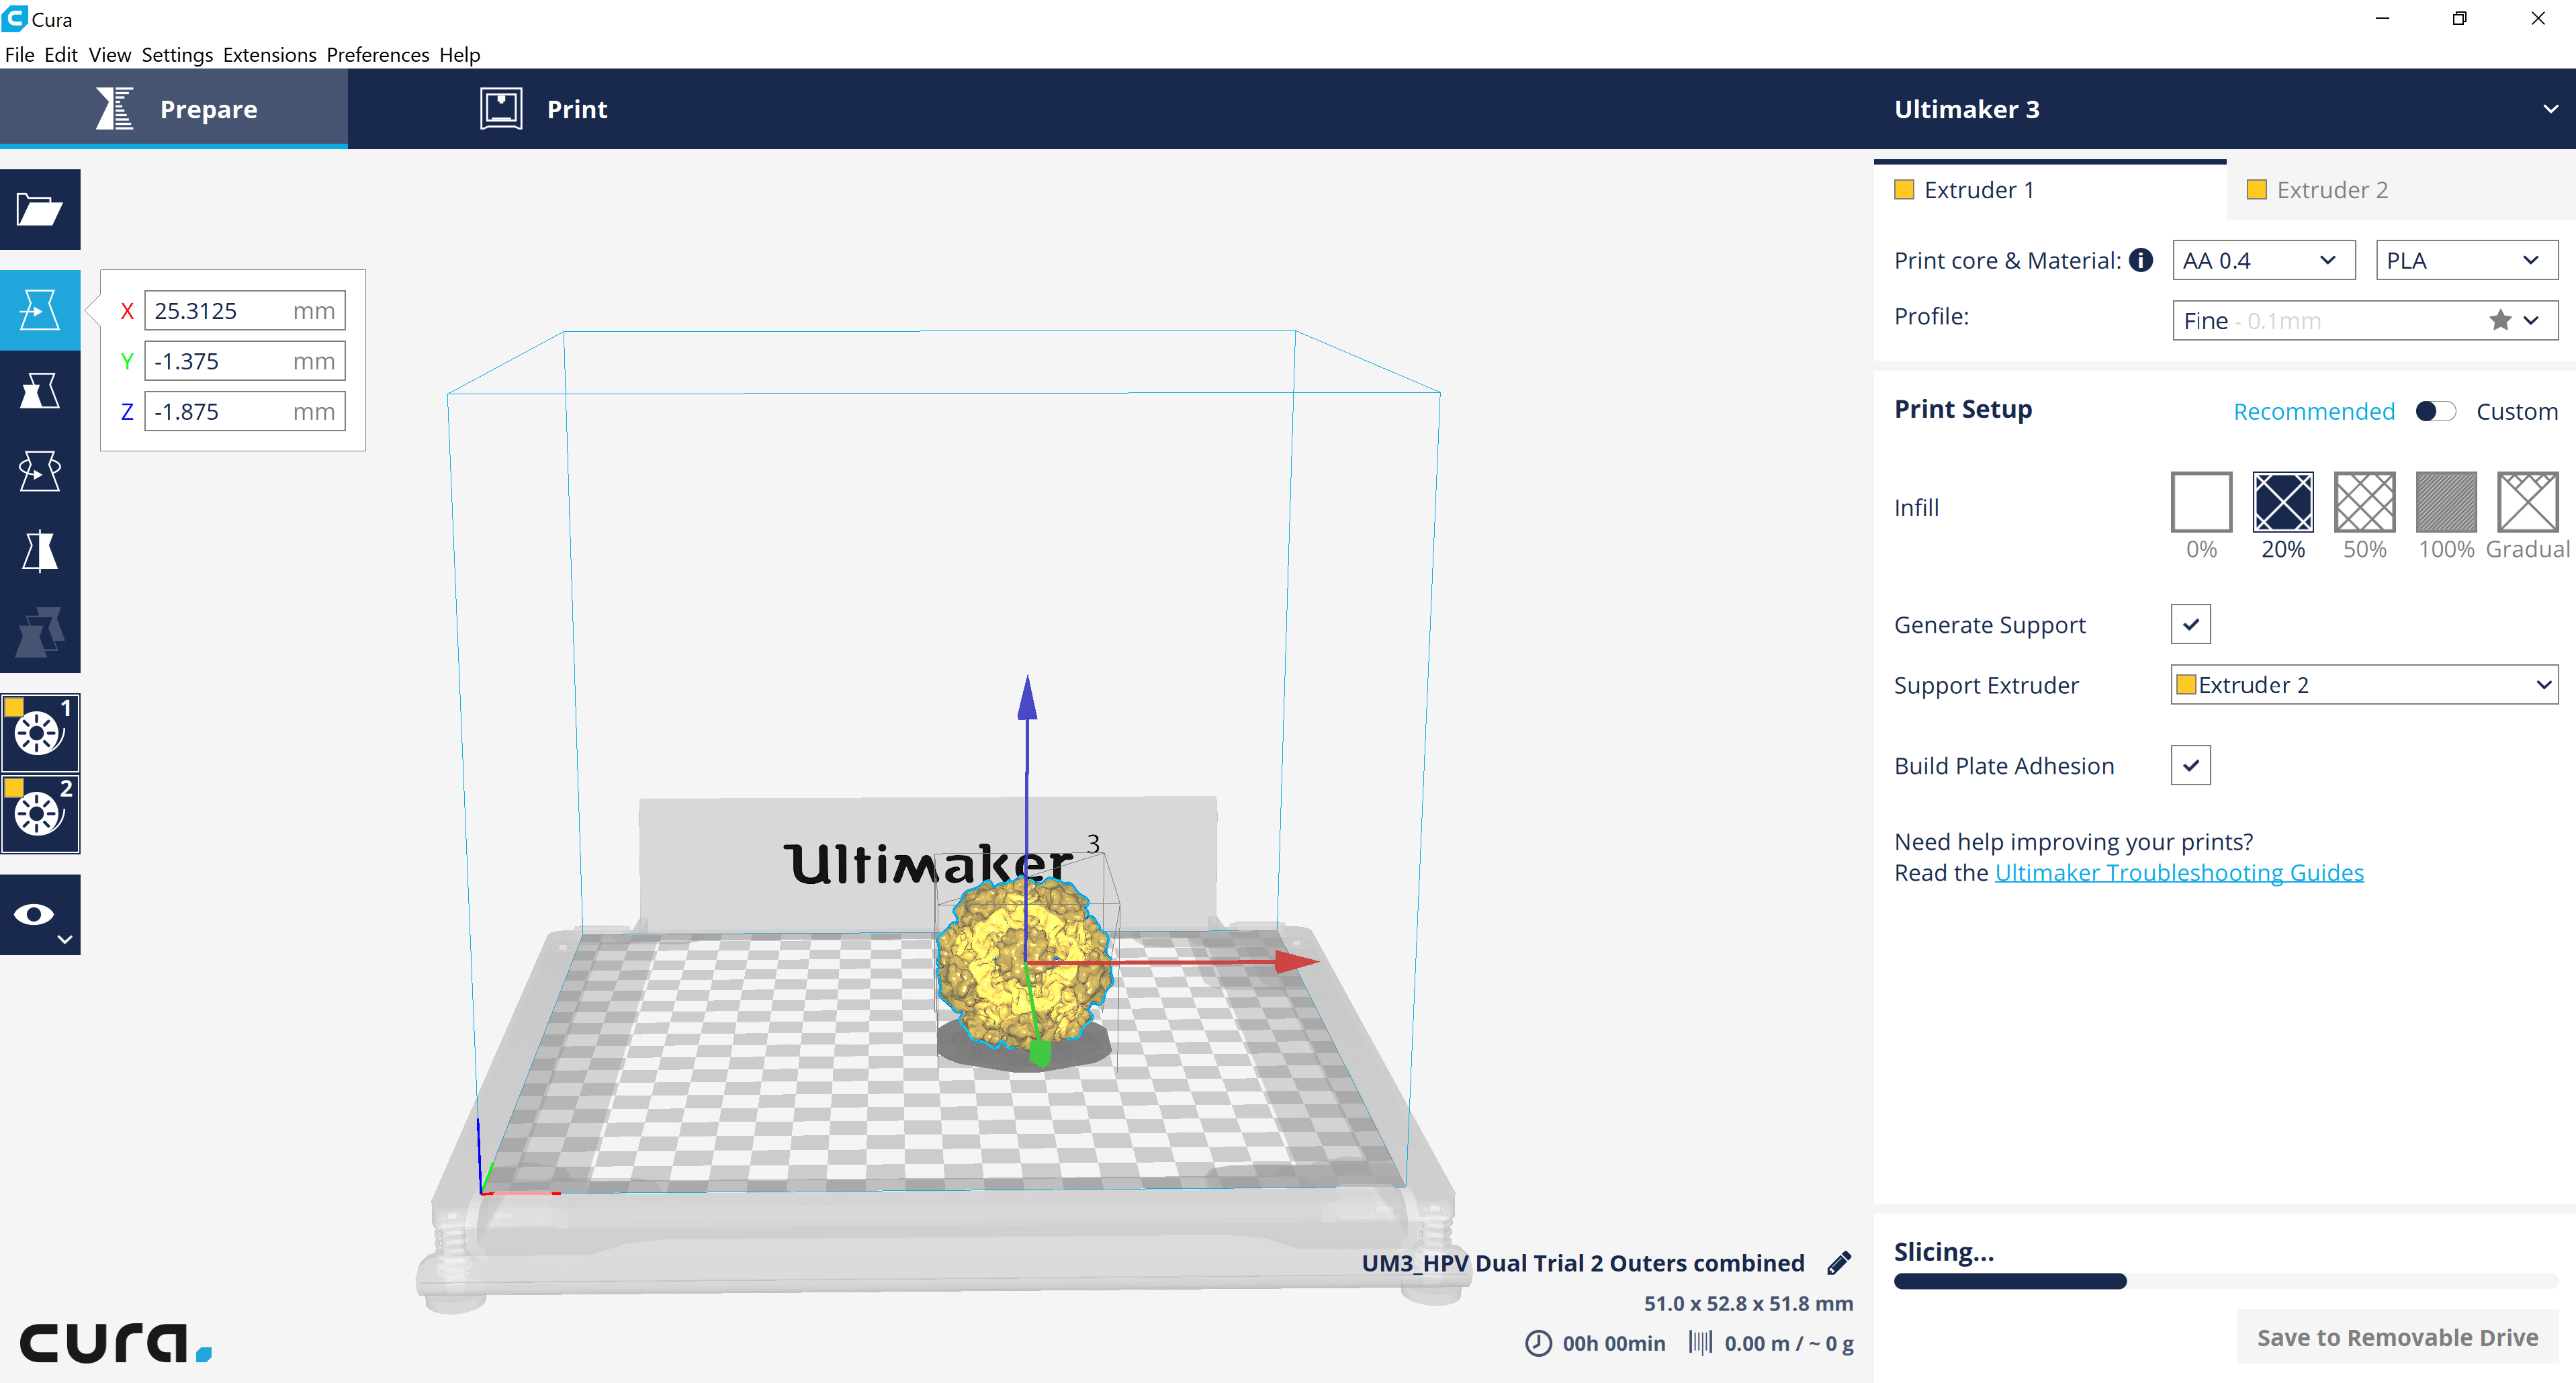
I used the “Plane Cut” tool in tandem with the “Separate Shells” tool, to differentiate each protrusion and eventually combine each into one cohesive .stl. At this point, I uploaded the combined protrusions .stl to Cura along with the virus base .stl.
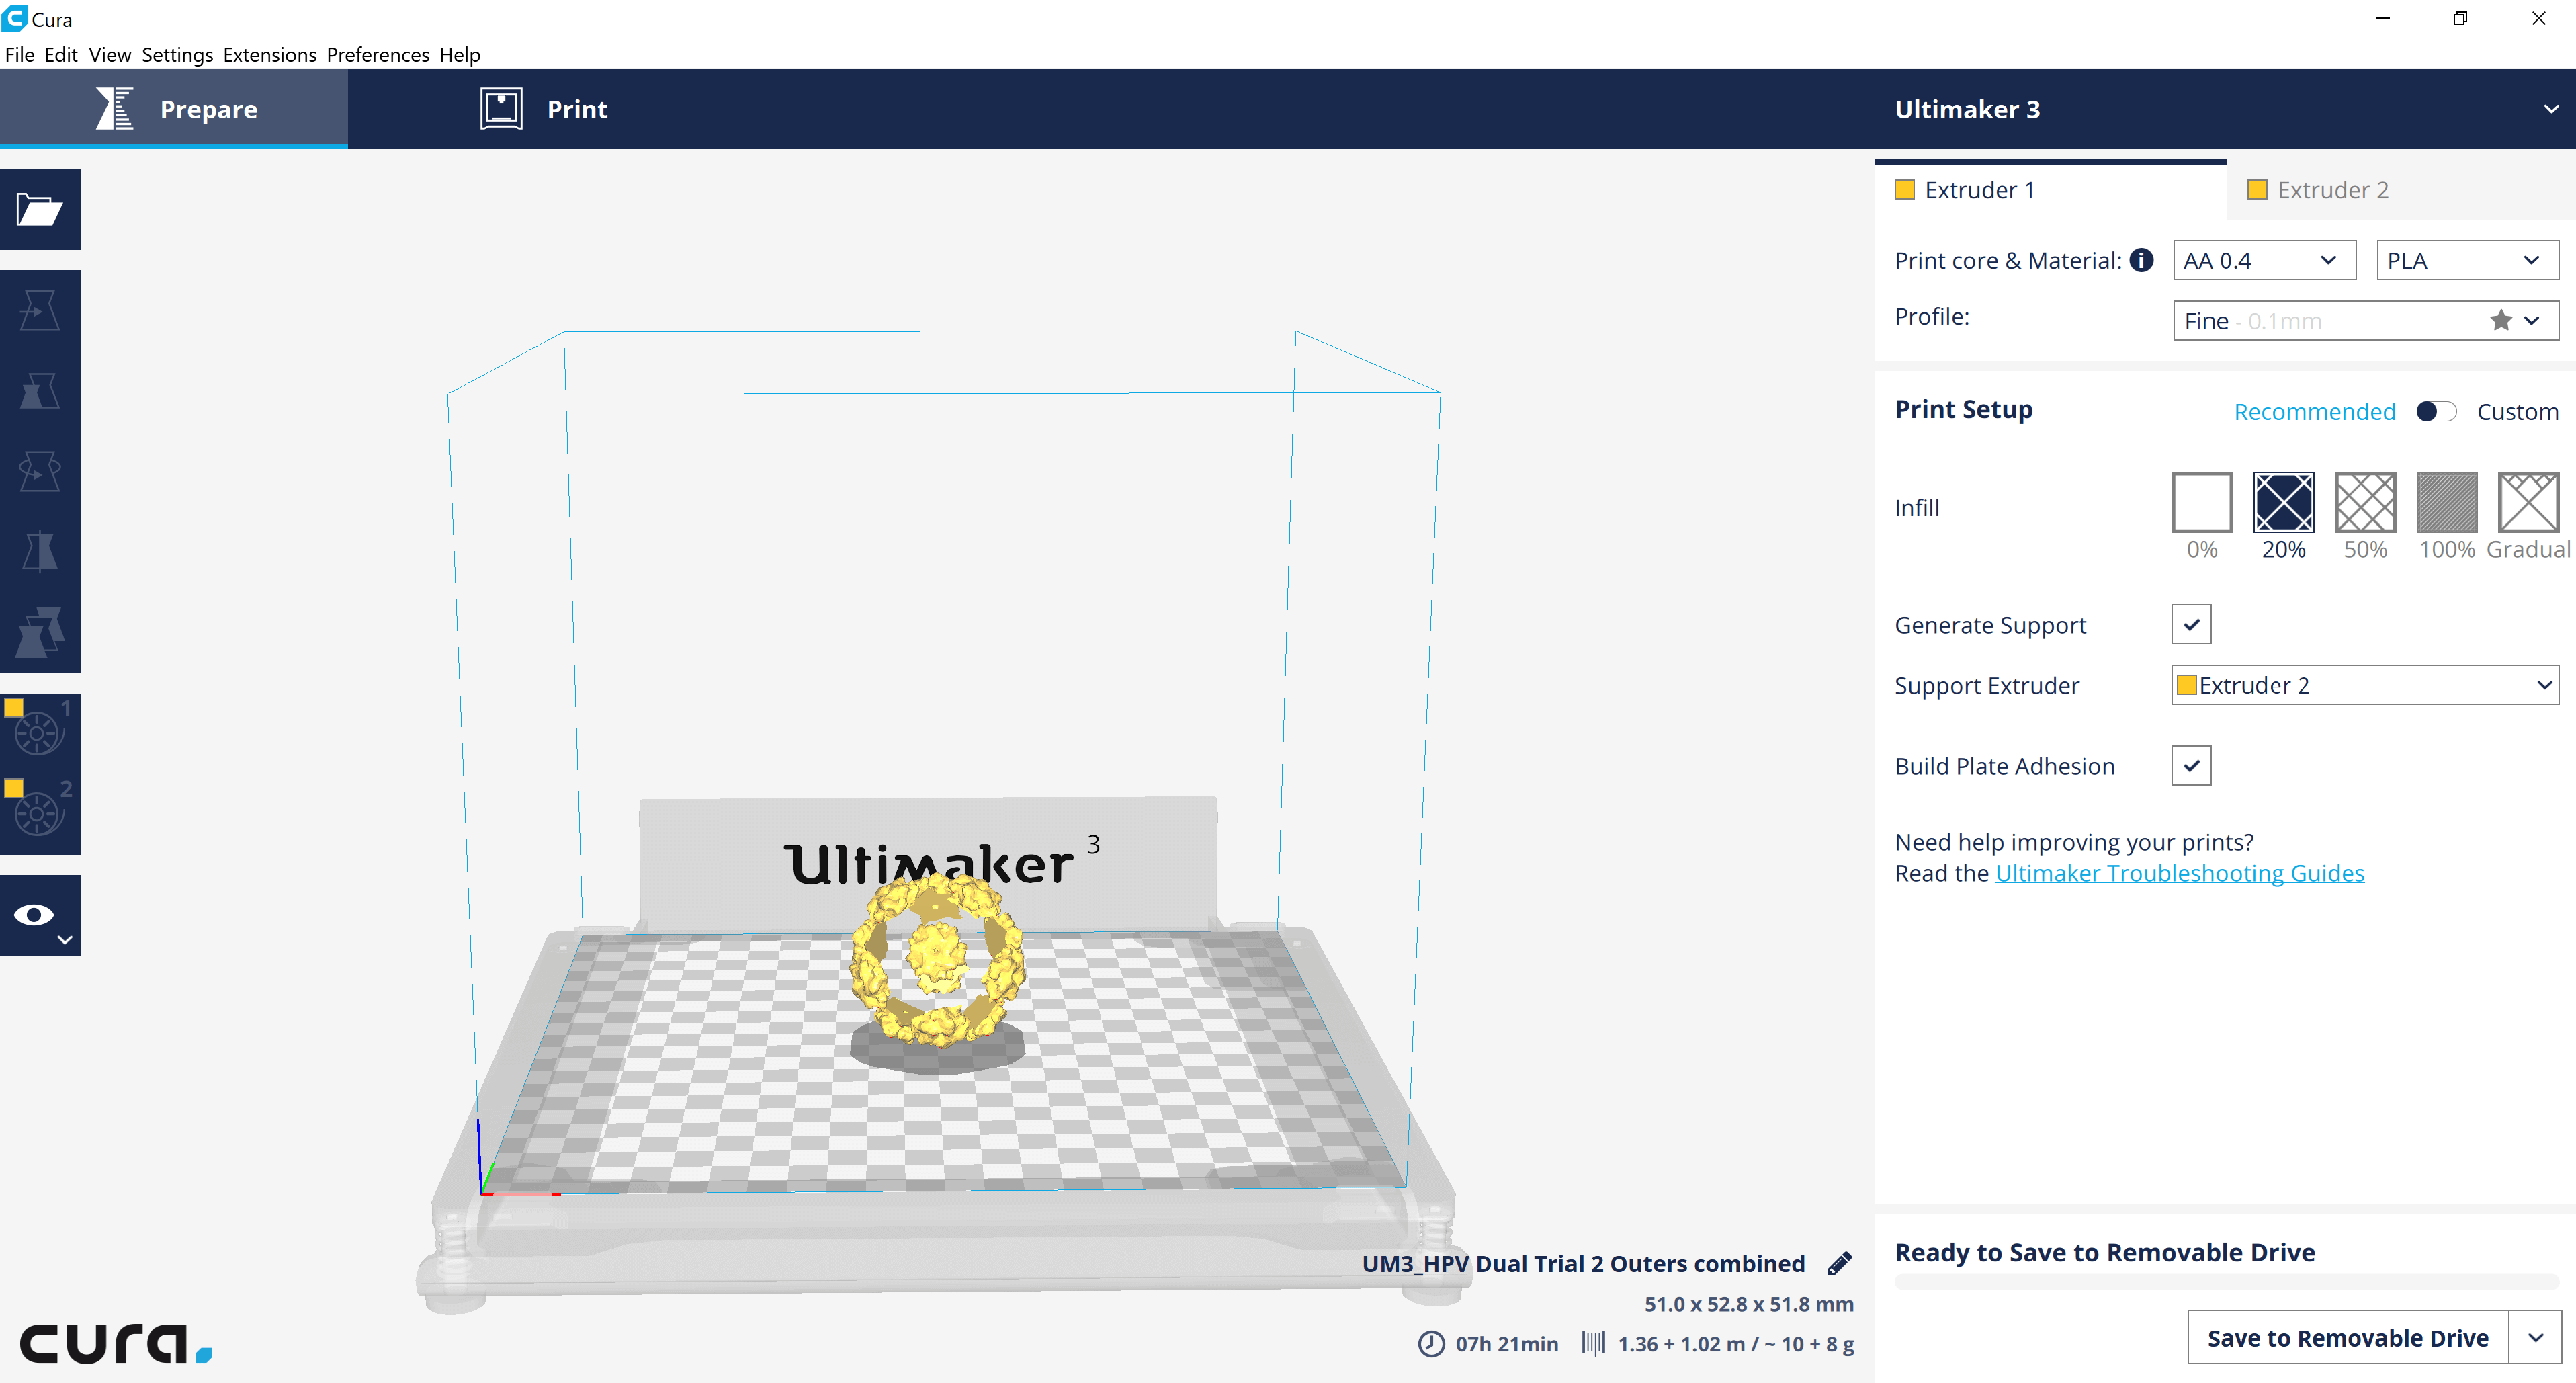
I then selected (right clicked) the protrusions .stl and specified that it should be printed with the second extruder. After this, selected both files, right clicked, and merged the files.
Acknowledgements
This project could not have been completed without the assistance and mentorship of Angela Vanden Elzen and Dr. Dave Hall.
References:
“The 1918 Influenza Pandemic”. Virus.Stanford.Edu, 2018, https://virus.stanford.edu/uda/. Accessed 31 May 2018.

