Author Archives: Harsimran Kalsi

3D Printing and Ecology: Utilizing Additive Manufacturing to Save a Federally-threatened Native Plant Species


The Evil Weevil

By Harsimran Kalsi

     Previously, I collaborated with Prof. Alyssa Hakes of the Biology department on a very interesting project, which highlights 3D printing’s high versatility and interdisciplinary potential. We worked on a project which may allow us to protect an endangered plant species known as the Pitcher’s Thistle (Cirsium pitcheri). This unique intersection of ecology and 3D printing is not intuitive at first, but it’s also an intersection that has only recently been explored by the scientific community.

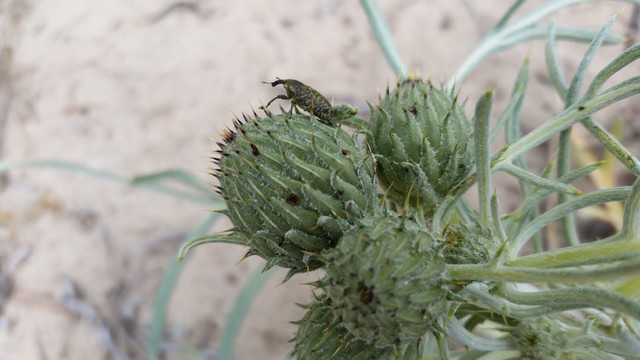
     Prof. Hakes has a wonderful page on experiments.com (https://experiment.com/projects/can-we-trap-invasive-weevils-and-protect-the-federally-threatened-pitcher-s-thistle) which describes the project in depth. In short summary, the goal was to fabricate decoys of the Pitcher’s Thistle (PT) to attract weevils away from the real and vulnerable plant. We wanted to make the decoys as high fidelity as possible considering things like shape, size, color, and reflectiveness. We also wanted to optimize these decoys such that they were easy to print/work with and easy to deploy in the field.

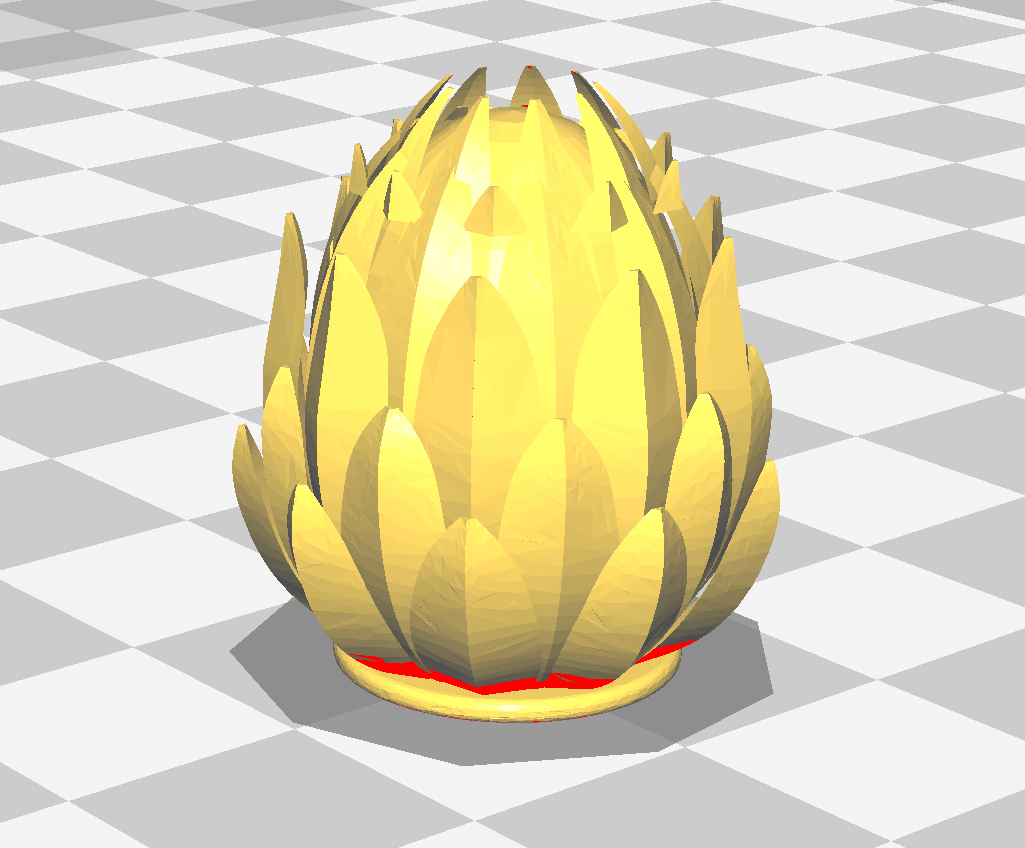
     During the initial design phase, one of the biggest challenges was trying to replicate the topology of the PT. The small pineapple-like protrusions on the curved surface of the bud, proved difficult to design and we anticipated that it might also be challenging to print. In a stroke of genius, Angela Vanden Elzen had the creative idea to modify a design she’d happened to come across on Thingiverse. The file was of a lamp shade which Angela then further modified by placing two inside one another, adding a sphere to the middle, and inserting a hole through the base (so the decoy could be placed onto a dowel which would act as the plant stem). This ultimately resulted in a decoy which looked something like this:

A snapshot of the decoy design Angela made

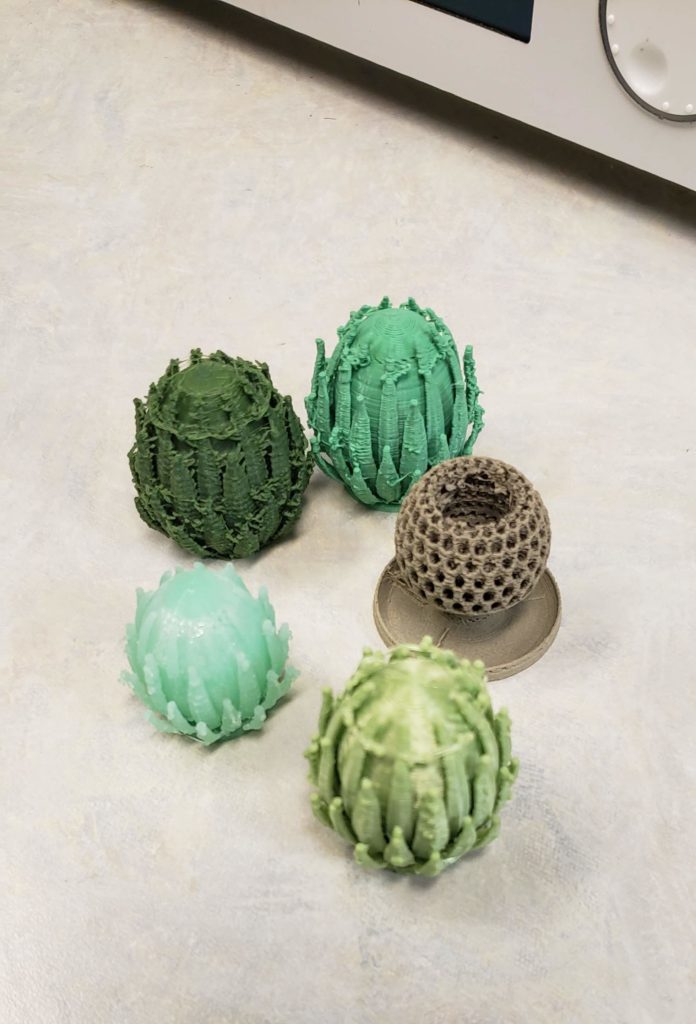
     Interestingly, we discovered that the “spiky” parts of this design weren’t printed exactly like they are shown in the .stl file. Instead, because of printing limitations (e.g. the angles of these edges) we ended up with decoys that displayed intricate, thin, somewhat “frilly”, and lengthwise fibers which surrounded the bud. Ultimately, these fibers actually helped make the decoys even more realistic in terms of texture. They also facilitated some of our feasibility constraints (e.g. no supports in the design makes it quick to scale up printing and the protrusions may make adding/maintaining adhesive easier).

     As we were printing, we utilized several different shades of green (including an algal based filament which was surprisingly . . . aromatic). We initially relied on prof. Hakes’ previous field experience to determine colors that best match the PT. Later we decided we could use images of the PT (taken by prof. Hakes in the field) to obtain a hex code and subsequently a customized color filament. But where could we order customized color filament? As it turns out, about 10 minutes away from the Makerspace is a local business called Coex, which supplies several different types of filament. We then began collaborating with them to create this custom filament.

A few prototypes printed with different filaments.

            Finally, we began printing the fourth (or so) iteration of the decay using the custom filament from Coex. We batch printed several for prof. Hakes to use for field experiments over the summer. For more updates about the project, check out this link: https://experiment.com/projects/can-we-trap-invasive-weevils-and-protect-the-federally-threatened-pitcher-s-thistle/labnotes?tag=project-milestone#labnotes

Acknowledgements:
Special thanks to Dr. Alyssa Hakes and Angela Vanden Elzen for their support and guidance throughout this project.

Update: The Lawrence University news blog wrote a story about this project at https://www.lawrence.edu/articles/research-looks-invasive-weevils-along-lake-michigan-shoreline

Into the Manifold: An Exploration of 3D Printed n=6 and n=7 Dimensional Calabi-Yau Manifolds

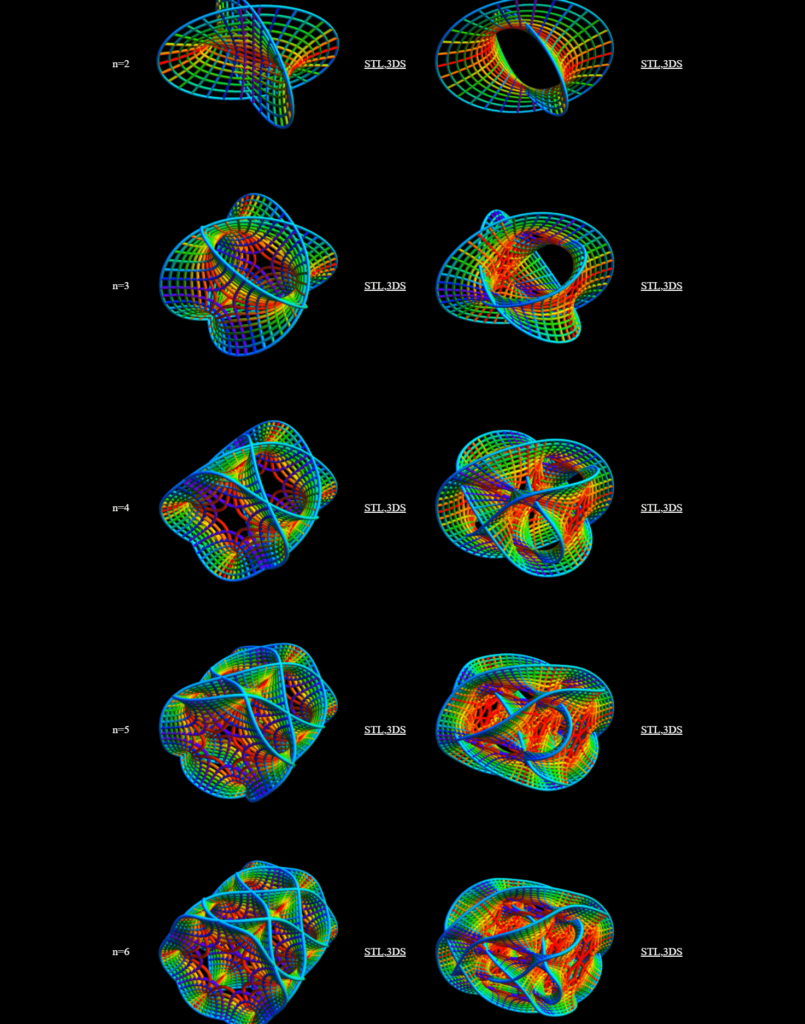
This image depicts a screenshot from Harvard Mathematical Department’s web page on Calabi-Yau manifold .STL files.
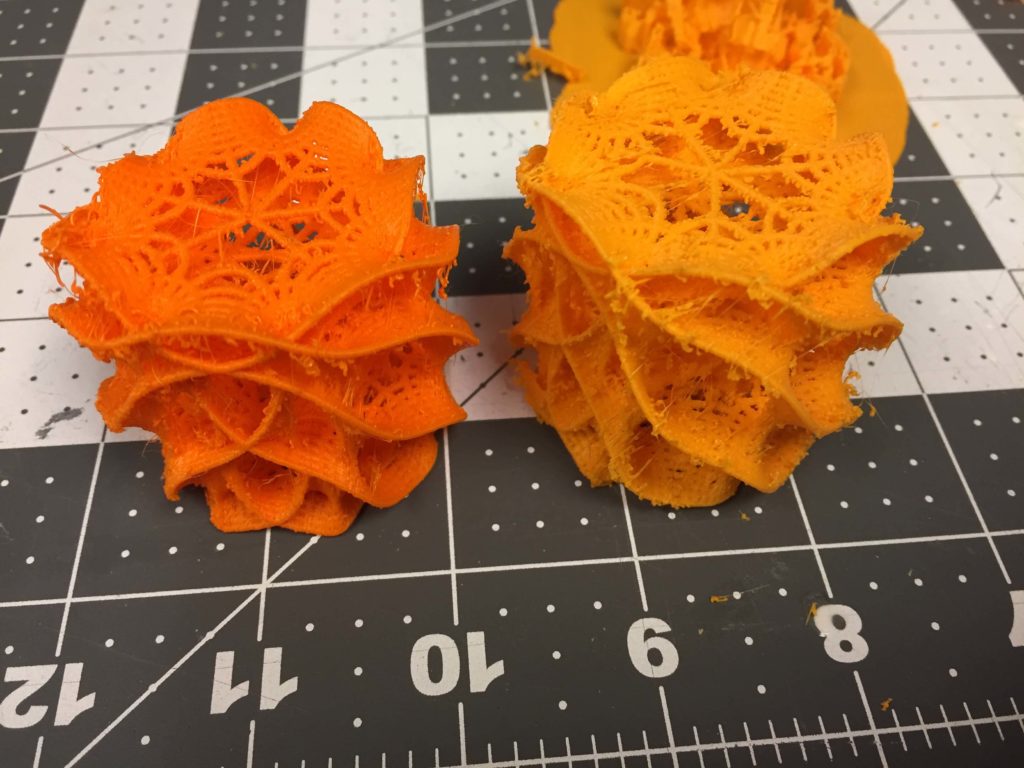
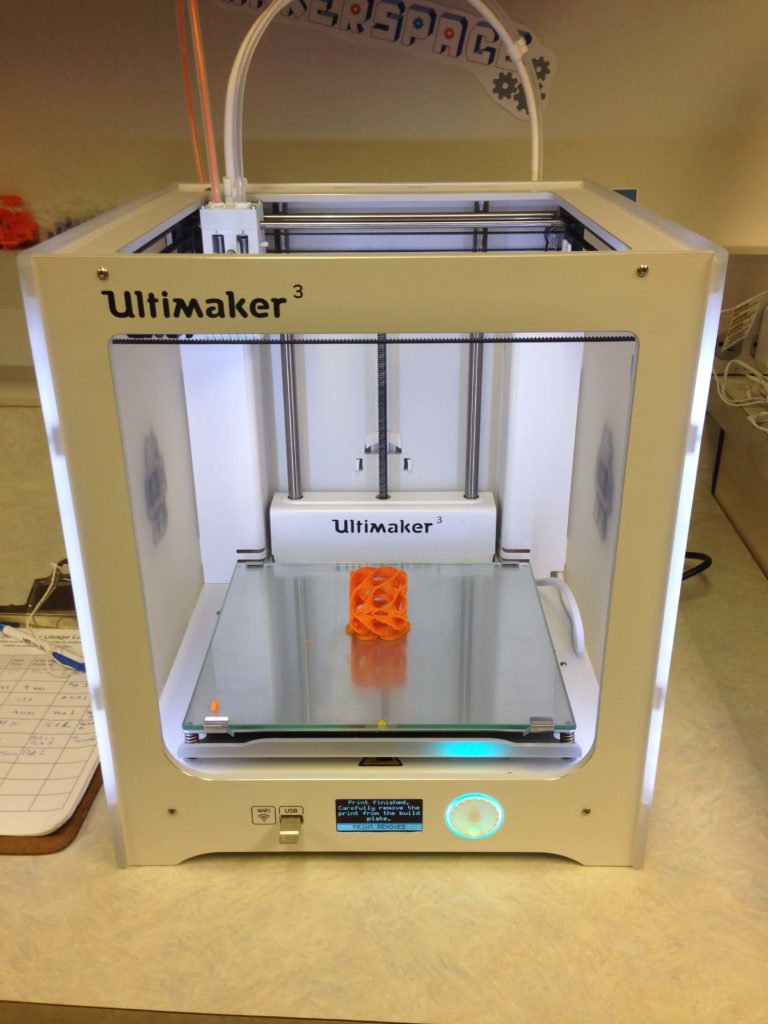
Two Calabi-Yau surfaces that I printed in the Makerspace.

By Harsimran S. Kalsi

     Calabi-Yau Manifolds (CYMs) are incredibly intricate geometric structures which have several implications in mathematics and theoretical physics. In particular, CYMs have been utilized in contexts such as superstring theory and in explaining characteristics of higher dimensional spacetime.

     In 2013, individuals at the Harvard Mathematics department created .stl files of various geometric shapes and published a very cool paper about using 3D printing technology to visualize mathematics. Knill and Slavkovsky stated that 3D printed representations of complex geometric objects/proofs could help promote understanding of the material.

     After some time, it occurred to me that the overall shape of a CYM vaguely resembles some aspects of a protein beta-barrel structure. My interest in 3D printing biochemically relevant objects (mixed with my urge to test the limits of economically feasible 3D printing) ultimately encouraged me to pursue printing some of these manifolds.

     Naturally, I decided to focus on printing the most complex manifolds first . . . both versions of the n=6 and n=7 manifolds (interestingly the n=2 and n=3 CYMs have been successfully printed previously: https://www.thingiverse.com/thing:165486) using PLA filament.

     When I initially started this project I saw some very promising results. I wanted to design the CYM file settings in such a way, that one could print the file without any supports whatsoever. Afterall, anytime a print can avoid support material is generally a good thing (conserve filament, reduce printing time, and easier to batch print).

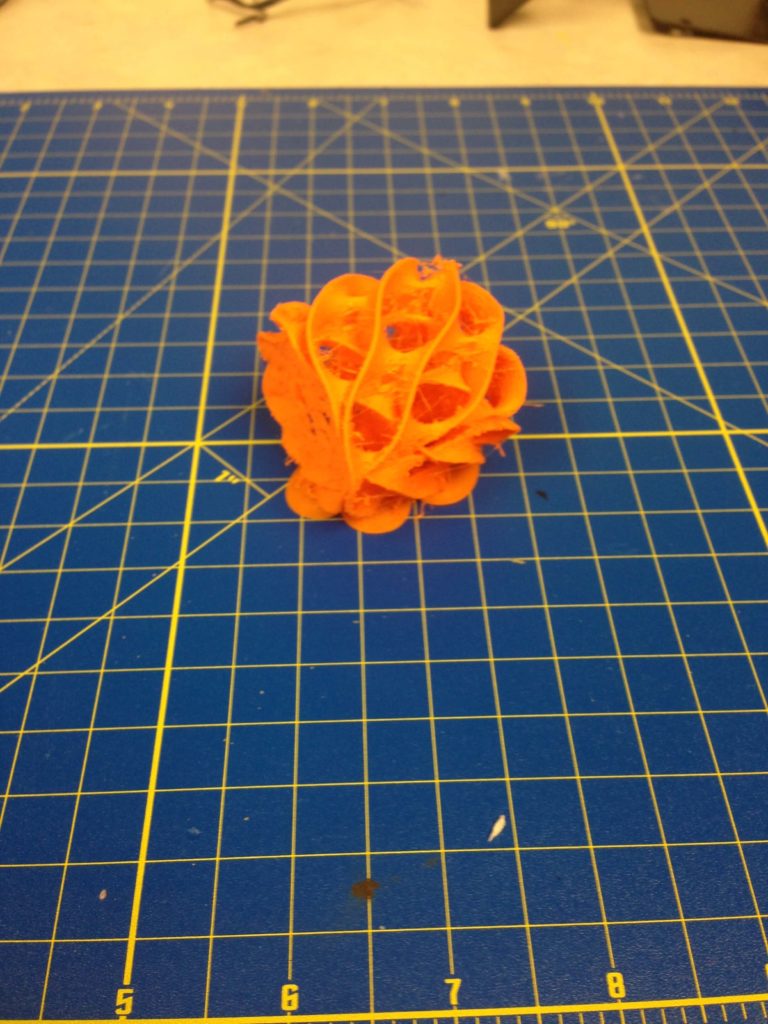
     After what felt like dozens of failed prints I had almost become certain that printing a complicated structure like this without support was impossible.

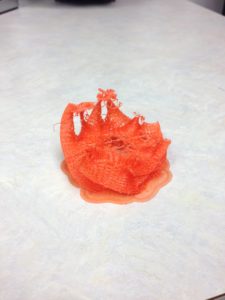
A failed CYM attempt.

     However, one day after making some final modifications to the size of the CYM and rotating its placement on the build plate (printing it horizontally–on its curves rather than vertically on its base) it was a success! The CYM printed without any supports and only required a raft! Upon further examination one could notice small frilly bits localized within the CYM but otherwise, the overall structure appeared to be high fidelity.

Successful CYM print with a raft but no supports.

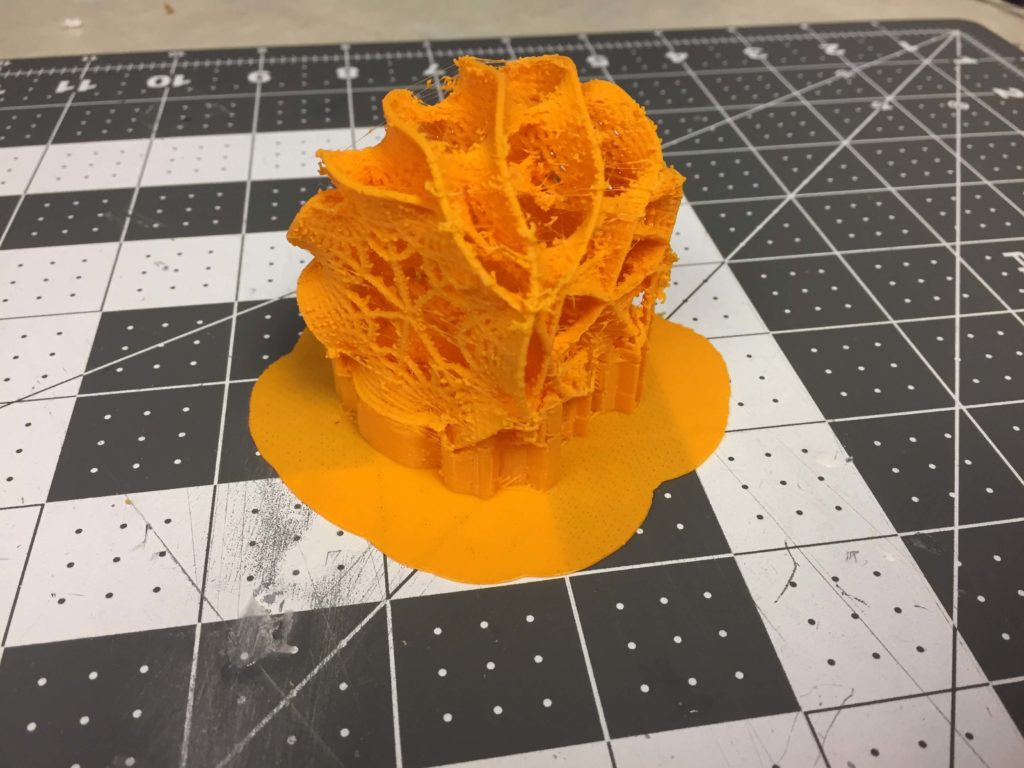
     Subsequently, I decided to continue playing around with various CYM files and parameters in addition to trying to replicate the support-free success. After several prints I found that the manifolds without the hole running through the middle were able to be printed on Ultimaker printers. I also found that the size of the CYM print had a huge impact on print success. It appeared that 45mm in length was the largest a print could get without becoming structurally compromised. This makes sense when one examines the internal structure of the CYM. Furthermore, it appeared that printing with supports connected to a raft, yielded the smoothest results.

~45mm length CYM with raft and 15% infil supports. Has much more “frillyness” compared to smaller versions without supports.

     Using supports and a raft while rotating the print to be on its side, I was able to successfully print an n=7 CYM! A comparison of two CYMs can be seen below.

     In conclusion, these test prints and trials have been very informative to me about the limitations of certain CAD programs and of 3D printers located in the Makerspace. This information is ultimately incredibly useful, as I continue printing intricate and novel objects (e.g. certain proteins) in the future.

Acknowledgements: All .stl files obtained here were obtained through Elizabeth Slavkovsky’s and Oliver Knill’s work posted here: http://www.math.harvard.edu/~knill/3dprinter/exhibits/calabiyau/index.html. Special thanks to Angela Vanden Elzen for her support and assistance throughout this project. Additional thanks to Deron Brown for assisting me during experimental prints.

Highlighting the Frontal Lobe: An Exploration of the Design and Fabrication of a 3D Printed Dual Color Human Brain

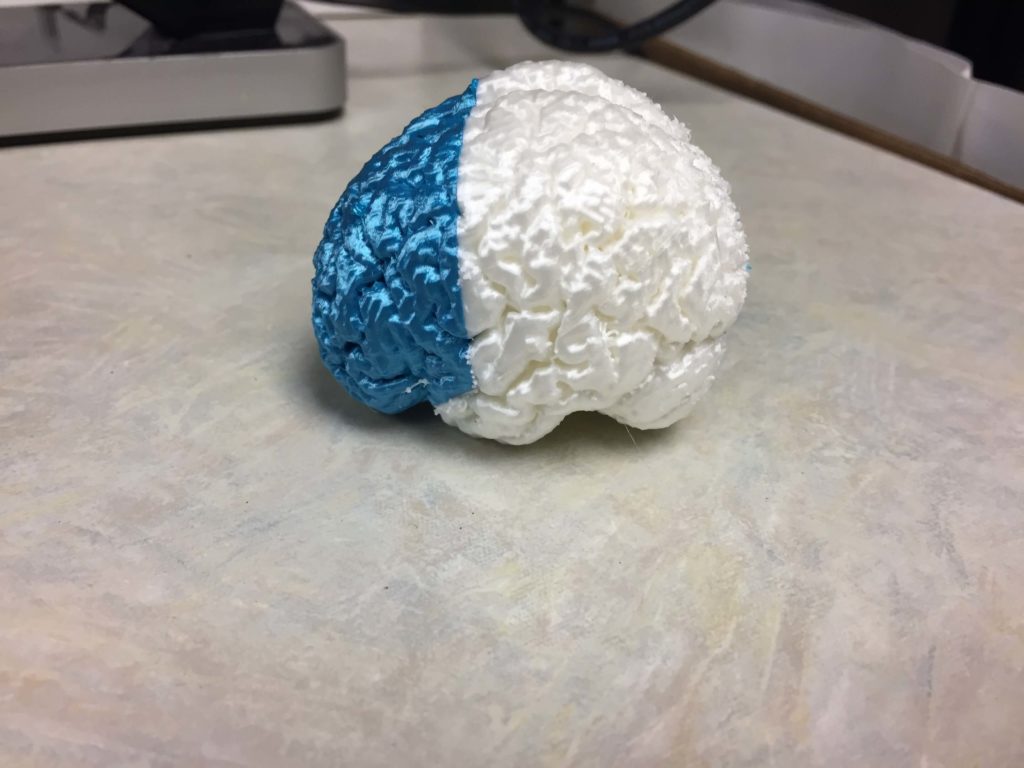
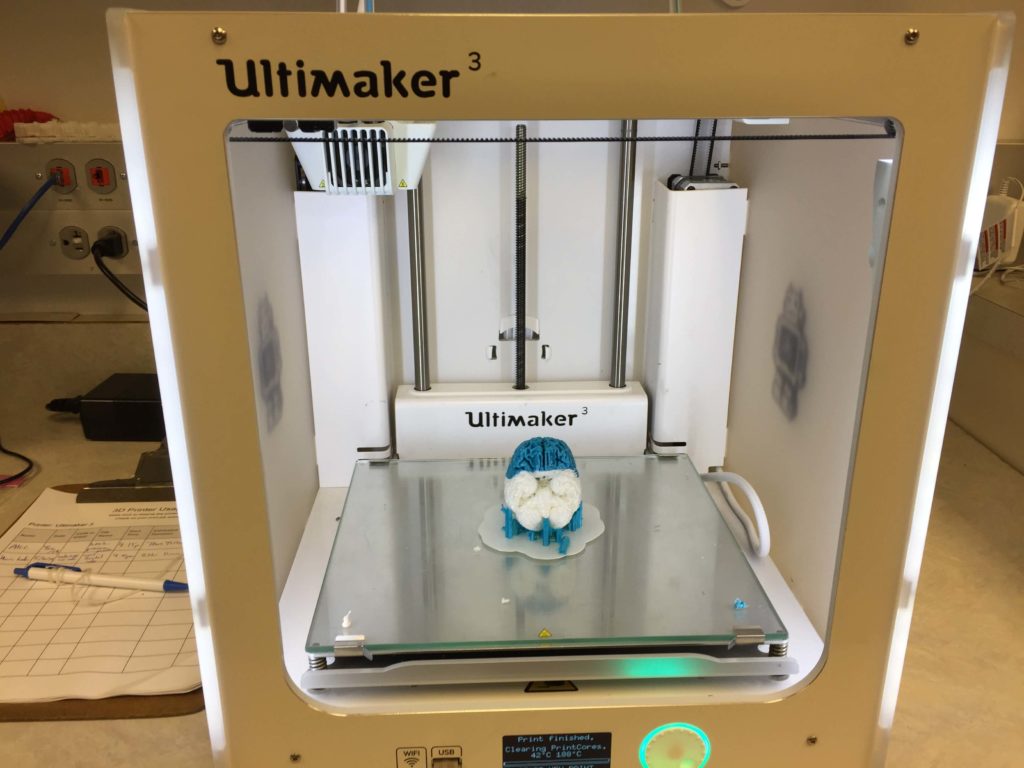
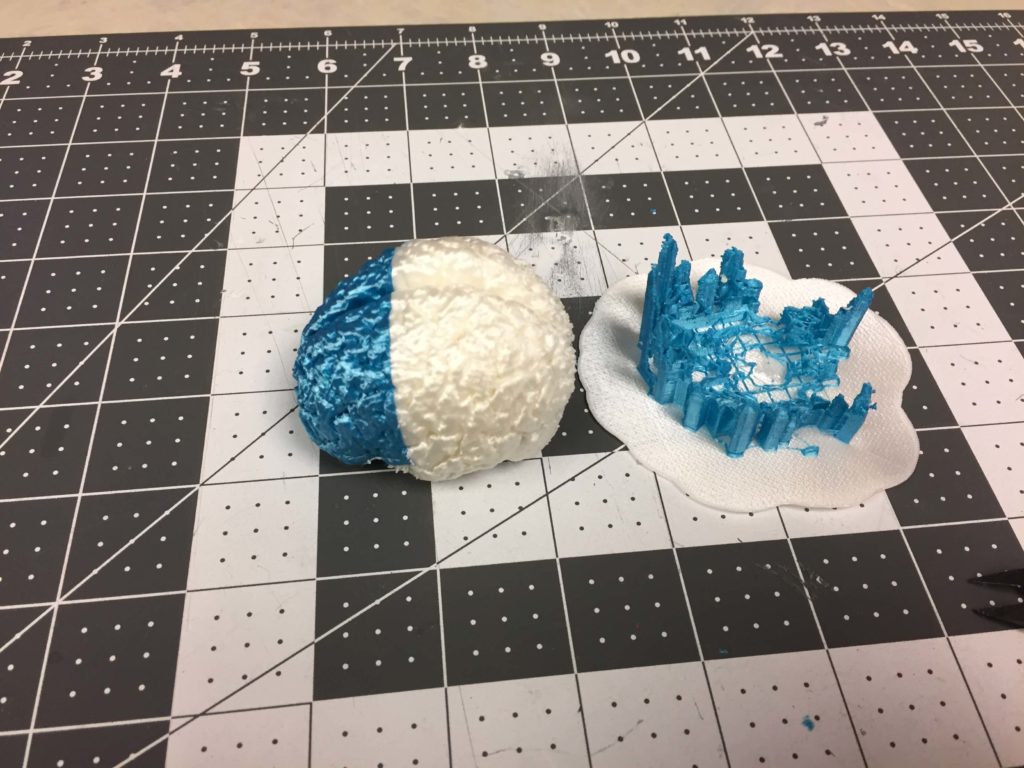
A dual color print of the human brain which highlights the frontal lobe in blue.

By Harsimran S. Kalsi

The human brain is arguably one of the most complex systems that humanity has ever come across. A three-pound mass of “jelly” with over 86 billion neuronal cells, all stowed away in the dark caverns of our skulls. This organ facilitates thinking, imagining, socially interacting, feeling, and so much more that can sometimes go unnoticed in our daily lives.

The intricacy and wonder of the human brain as well as its limitless potential as a target to enhance human health and wellbeing, are what drive my deep interest in the brain. I’ve long been fascinated by it ever since having first learned about Dr. David Eagleman’s work on creating new senses and Dr. Vilanyur S. Ramachandran’s and Dr. Oliver Sacks’ work on fascinating neurological cases.

Recently, I decided that I’d like to print a brain using files from the NIH 3D Print Exchange. In particular, I wanted to modify and print a file such that it highlights my favorite part of the brain–the frontal lobe. Of the four major lobes of the brain, it is the largest and is located just behind the forehead (at the front of both hemispheres). The frontal lobe is principally responsible for planning/thinking about the future, attention, motivation, and short-term memory (as well as some other features). In many ways, characteristics of our frontal lobes help define aspects of what it means to be human.

To “highlight” the frontal lobe I used the same method that I used previously to highlight distinct proteins on the surface of viruses. If you haven’t had a chance to read that post, you can find it here. In short summary, I used Meshmixer to divide the brain .stl into several distinct pieces and later merged them into specific groups, which could then be imported and manipulated in Cura (printing with an Ultimaker 3).

Overall, this process and print worked great! The prints came out fantastic and with a higher resolution of the sulci and gyri than I had initially anticipated. However, since I utilized the Meshmixer plane cut tool, the delineation of the frontal lobe from the other lobes is sometimes too sharp and a little off center. The frontal lobe is specifically separated from the parietal lobe by the Central Sulcus and separated from the temporal lobe by the lateral sulcus. This particular print does not show the frontal lobe in this much detail; however, it is a very close approximation (which appears to be off by ~1mm). Additionally, it is still useful from a “macro” educational and proof of concept perspective.

Acknowledgements:
The original .stl of the brain was obtained from the NIH 3D Print Exchange. Special thanks to Angela Vanden Elzen for her support and assistance throughout this project.

3D Printed Smartphone Microscopy

By: Harsimran Kalsi

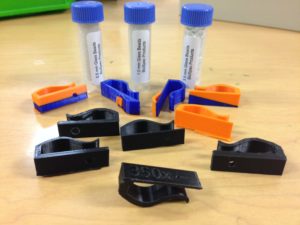
3D printed smartphone microscopy housings and magnifying glass beads.

How did microscopy become a thing? A very brief history of microscopy.

The first microscope is largely credited to having been created by a Dutch man named Antonie Von Leeuwenhoek, during the 17th century (Howard Hughes Medical Institute). Leeuwenhoek utilized a relatively simple apparatus to discover and explore what he called, “animalcules.” His apparatus consisted primarily of a very precisely shaped glass bead, embedded into a handheld housing. Using this instrument, he explored many different mediums (e.g. pond water, blood) and discovered many different microbes (e.g. Daphnia, bacteria, red blood cells).
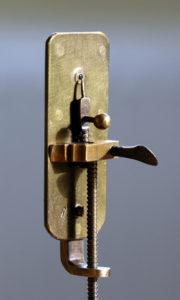
A replica of Leeuwenhoek’s microscope. Courtesy of Funsci.com

As time continued, more methods of microscopy have been developed and advanced. In modernity, we have crafted various advanced optical/light microscopes capable of viewing samples at 300x magnification. Other methods exist that allow us to analyze samples outside wavelengths of light suited for the human eye (e.g. infrared, ultraviolet). Methods such as scanning electron microscopy and transmission electron microscopy manipulate electrons to obtain highly detailed images of greater magnifications. These methods can magnify samples anywhere between 1,000x-30,000x (depending on the particular method).


Why study the microcosm?

Most life on earth is completely invisible to the human eye, without the aid of a microscope. Looking at the tree of life, one can see that most of it is microbial and that a small sliver/branch of it, actually constitutes what we can see. This vast, teeming, beautiful, and barely explored microcosm can often go overlooked every moment.

Though these microbes may go overlooked, that by no means implies that they have little affect on the way our world is. In fact, these microbes have a profound effect. Bacteria cover everything including our own skin. They also live within many organisms (including ourselves) and help us in several ways. However, many microbes can make us extremely sick and with the current state of increasing global antibiotic resistance, it is crucial that we understand more about these organisms to maintain our own well-being.

Types of 3D printed microscopy

Different methods of 3D printed microscopy have been developed over the past decade, however, the focus of this project will primarily be with one particular method. This method was developed by Pacific Northwest National Laboratories (PNNL) and is very similar to Leeuwenhoek’s first microscope, in a lot of ways. The method consists of 3D printing a housing that hold a glass bead of a specific diameter. The diameter of the spherical glass bead in turn determines the magnification that the microscope is capable of. This apparatus then slips over your smartphone camera and can be used to view certain things.

Benefits of 3D printed smartphone microscopy

The concept of 3D printed smartphone microscopy visualizes many benefits. 3D printed microscopy methods may be far more economically feasible than other microscopy methods. Many microscopes are not cheap, however, if a microscope could be composed primarily of one cheap material (e.g. PLA, ABS) and printed quickly through additive manufacturing techniques, one might be able to print many cheap but efficient microscopes (hence maximizing productivity). Furthermore, these microscopes may be easier to use and deploy in resource poor areas.

Method

In this project, I used standardized slides with microorganisms of a known type to test the efficiency of PNNL’s smartphone microscope design against that of a standardized light microscope (a Nikon Eclipse E100). The slides consisted of Zea mays, Rhodospirilium rubrum, Bacillus megaterium, and Micrococcus luteus. Efficiency was determined primarily by comparing the magnification, resolution, durability/ease of use, and overall clarity of the smartphone microscopes with the light microscope.

Two magnifications were tested with the smartphone microscope housings: 100x and 350x (with beads of 3.5 mm and 1.0 mm diameters respectively). Many beads provided by the equipment company were not perfectly spherical and had slight imperfections (e.g. small dents, cloudiness, smudges). In this project, the most spherical and clear beads were used and a 70% isopropyl alcohol solution was used to clean the beads before and after use to optimize image clarity. Latex gloves were also used to prevent finger oils and foreign contaminants that might be located on one’s hands from contacting the bead surface.

.Stl files for the housings were obtained from PNNL’s website and the bead holes were expanded post printing, as they were initially too small.

Results

The images and figures below were obtained through analysis of the slides. The smartphone microscope images generally appeared to be of considerably lower quality compared to the light microscope. Images taken with the smartphone microscope often had poor resolution and clarity (so much so that the Zea mays sample was unobservable with the smartphone microscope). This in part might be attributed to imperfections and detritus on the bead surface. On the other hand, the smartphone microscopes were capable of magnifying fairly well, however, the poor resolution and higher sensitivity of these microscopes made it harder to view clear images and control the instrument.

Lighting was also an influencing factor. At times, it was difficult to establish optimal lighting conditions for the smartphone microscope (in contrast to the light microscopes which have a fixed and adjustable light source). Often, imperfections or oil on the bead would lead to strange diffraction patterns of light that wouldn’t illuminate the sample very well.

It also proved an arduous task to insert beads into the housing. At first, the housing files proved too small to house the beads. I ended up expanding the holes within the housings by about 0.3 mm for the x100 magnification and about .1 mm for the x350 magnification. I later created a .stl file with an assay of housings with different sized holes to find the optimal size for each magnification.
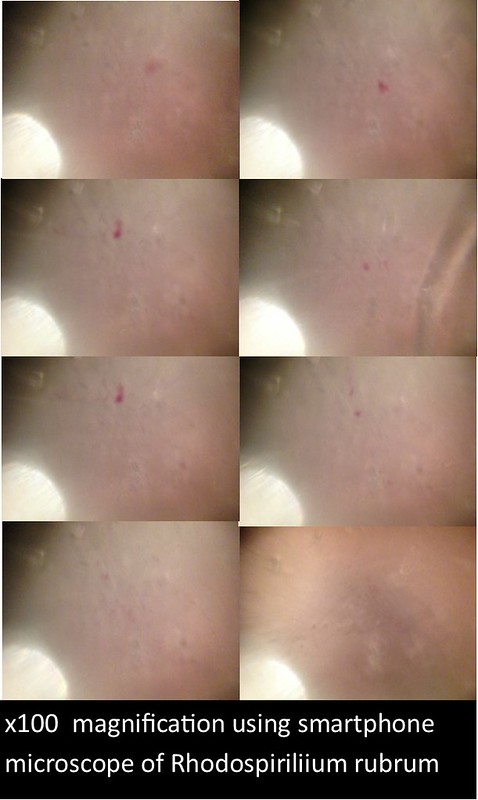
100 smartphone

350 magnification smartphone

zea light microscope

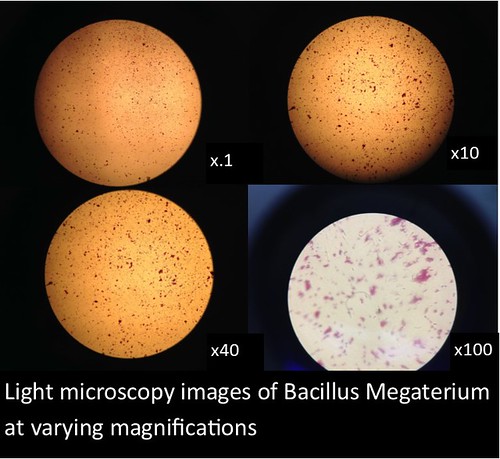
bacillus light mirco

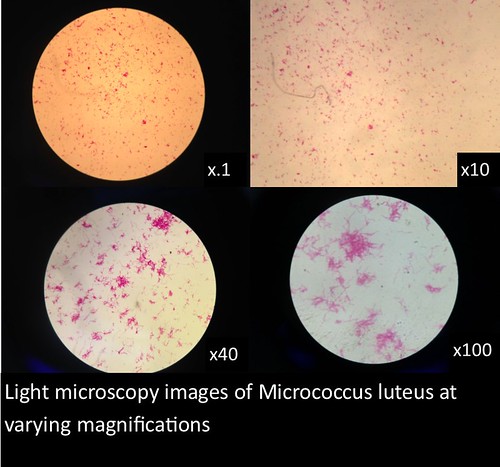
micrococcus light micro

Promising future modifications/designs

It seems that this version of the smartphone microscope can still be promising for future smartphone microscopy endeavors. If one finds a way to address just a couple of key issues, this technology could be very efficient. Perhaps, if one found a way to maintain consistent beads with little to no imperfections, it likely would improve the resolution and clarity of the microscope. Also, if someone found a way to optimize the process of embedding the bead into the housing without contaminating, dropping, or losing the bead, that would also make a big difference. Adjusting the print files to house the beads without further adjustment would also improve the overall process.

Recent advances in smartphone microscopy include a smartphone microscope apparatus created by the Centre for Nanoscale BioPhotonics: Arc Centre of Excellence, which is a 3D printed “clip on” that requires no bead whatsoever. The entire apparatus is 3D printed (preferably with black filament) and utilizes ambient light and camera flash to illuminate and magnify samples. More information about how it works can be found here. This method appears to be promising as well.

Acknowledgements

This project could not have been completed without the guidance of Angela Vanden Elzen. Additionally, crucial supplies were provided generously by Wayne and JoAnn of the Biology Stockroom. Thank you to Dr. Jodi Sedlock for allowing me to utilize her lab space. Special thanks also to Dr. Nancy Wall for providing the prepared slides and allowing me to use her lab space/microscope.

References

Howard Hughes Medical Institute. Seeing The Invisible: Van Leeuwenhoek’s First Glimpses Of The Microbial World. 2014, https://www.youtube.com/watch?v=ePnbkNVdPio. Accessed 30 May 2018.

“PNNL Smartphone Microscope – Available Technologies – PNNL”. Availabletechnologies.Pnnl.Gov, 2018, https://availabletechnologies.pnnl.gov/technology.asp?id=393. Accessed 30 May 2018.