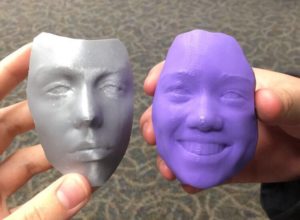
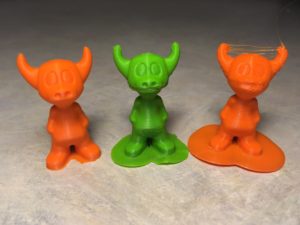
I was first exposed to the reproduction of human faces through the action film, Mission Impossible: Ghost Protocol. Agents in the Mission Impossible movies often use facial images to create masks that enable flawless impersonations of their nemeses. The process I am about to explain is our Makerspace’s version of facial duplication, which was mentioned in the 3D printing and Ceramics post.
What you need for 3D scanning:
• Scanner: Fuel3D scanner
• Target: Fuel3D handheld target
• Battery pack: Amazon Basics portable battery pack (update: OR AC adapter for wall power)
• Computer program: Fuel3D Studio, Studio Advanced version
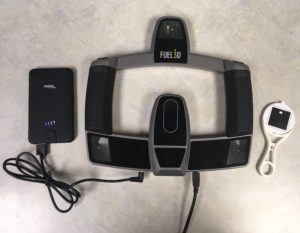
From left to right: battery pack, scanner, target.
Set-up
1. Obtain a code for the Studio Advanced version of Fuel3D Studio
2. Open Fuel3D Studio on a computer and enter the code
3. Connect the scanner to the computer (micro-USB to USB)
4. Connect the scanner to the battery pack (jack to USB)
Scanning
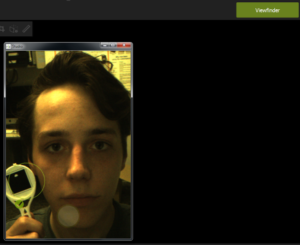
1. Open the Viewfinder in Fuel3D Studio. The person whose face is being scanned should hold a Scanify target next to their face or under their chin.
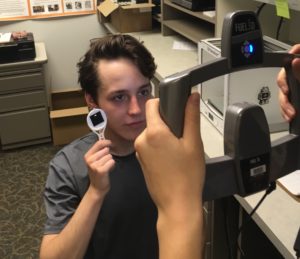
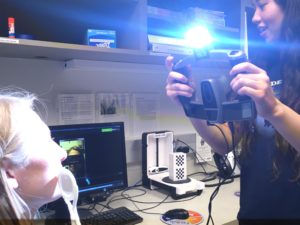
2. The person taking the scan should hold the scanner so that the face and the target are visible in the Viewfinder.
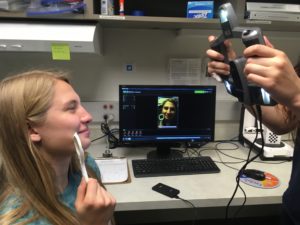
3. Adjust the scanner until a green check mark is visible. This means that the scanner has recognized the face.
4. Capture the image by pressing one of the buttons on the scanner’s handles.
Cropping
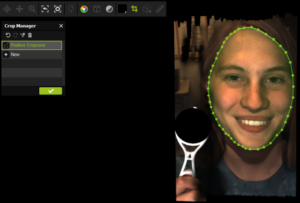
Choose the image you want to 3D print and click the Crop icon. Select Positive Crop Zone and place dots around the entire face. Click the check mark when done.
Volumizing
Next to the Crop icon, click on the Remesher Tools icon. Then select the Volumizing tool. There are 3 options:
• Flat– makes your face into a flat-bottomed solid.
• Extruded– makes your face into a mask-like solid.
• Mirrored– duplicates your face onto both sides of a solid.
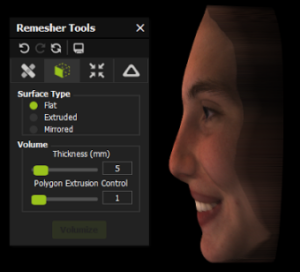
Flat volume
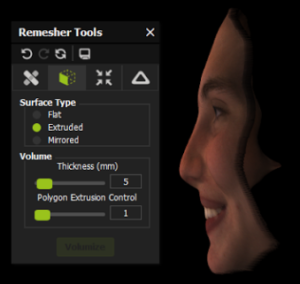
Extruded volume
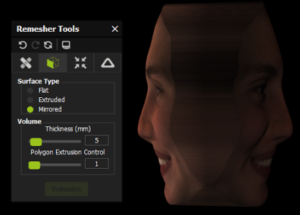
Mirrored volume
Optional Tools
Fuel3D Studio provides options to fix holes, smooth edges, adjust volume thickness, decimate the solid’s vertices, and equalize the solid’s surface geometry. For the face scans I’ve done, the default settings for all of these tools have worked just fine.
Save and Print
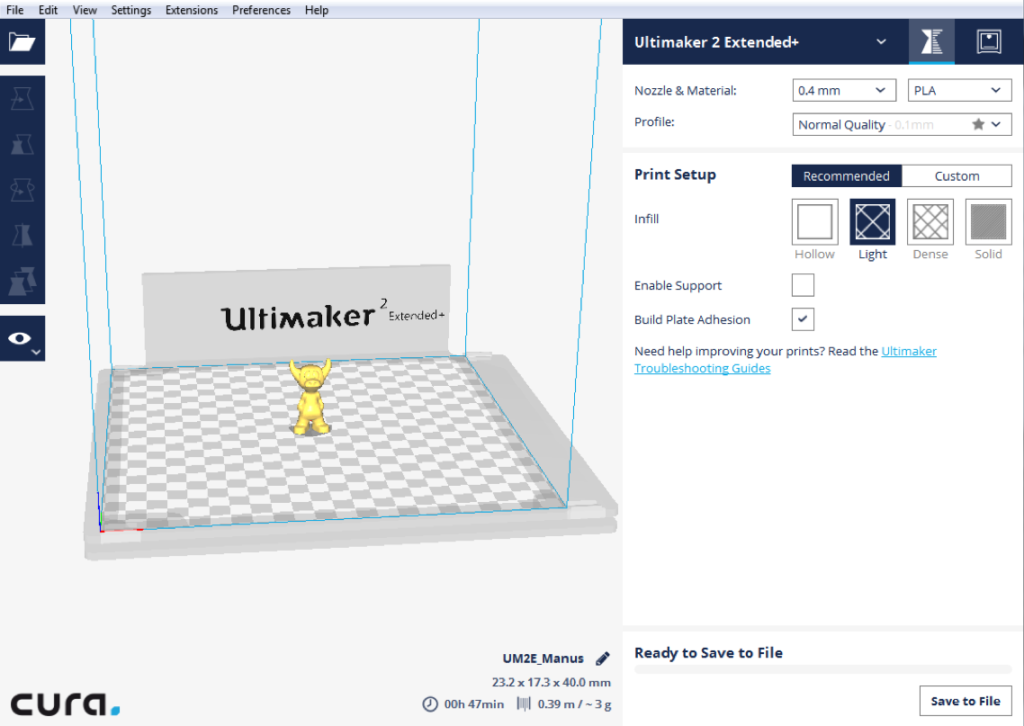
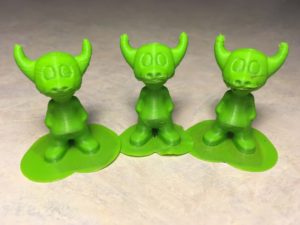
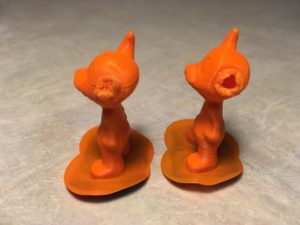
Click on the Save icon. Name your file and choose STL as the format. Now your file is ready to 3D print! I used Cura for slicing, and an Ultimaker 2+ Extended for 3D printing.