The idea to set up a tutorial and learn more about 3D printing was born out of the Stagecraft class I took winter term. One of my group members proposed to create a (non-functional) gun as one of the props for our final project, and once we realized we might be able to 3D print it, we got very excited and did exactly that. Casually, I told my friend Emmi about the prop and she mentioned how awesome it would be to learn how to do 3D printing. Both of us carried that thought with us for the next few weeks until we decided to seek out Angela, one of our librarians responsible for the Makerspace (that’s where the mysterious 3D printing machines are), to ask her if she would be willing to pass her wisdom on to us. And so it began.
Neither of us had high expectations. Everything seemed very complicated from the eyes of two students who had never even seen a 3D printer before. But as we should learn soon, the printing process and even the designing of 3D printable objects is not as difficult as one might think.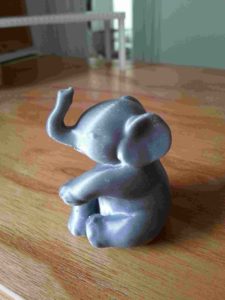
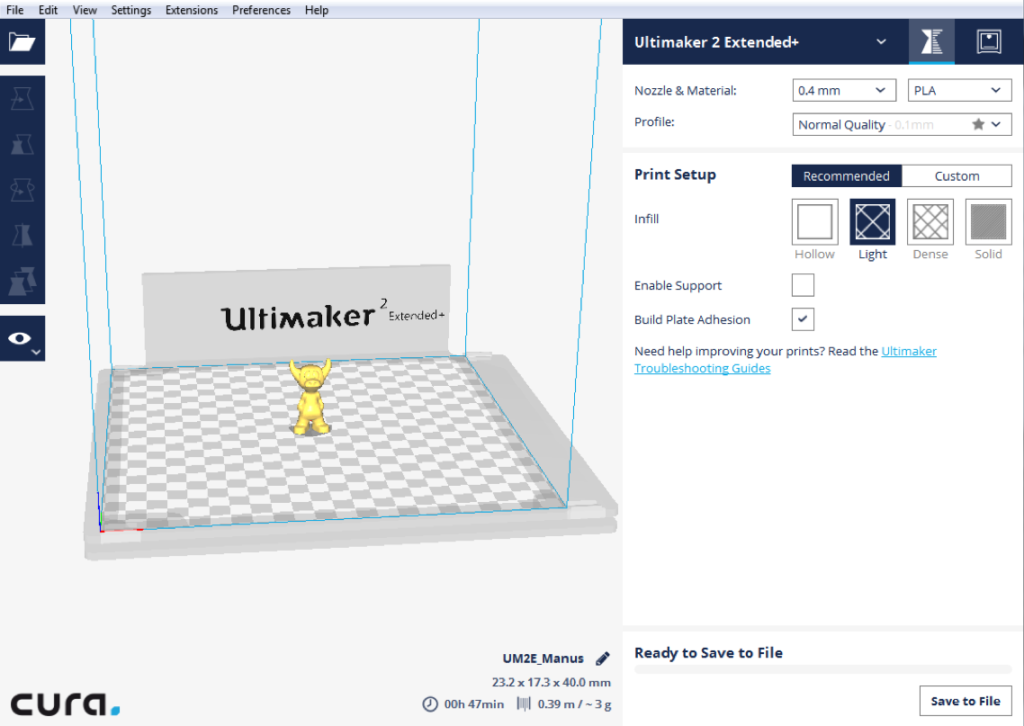
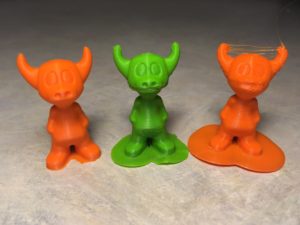
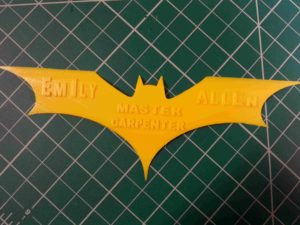
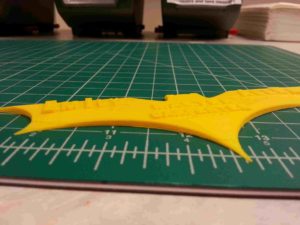
The first object we printed was a small version of an elephant figure whose file we had downloaded from an online platform, and even though we really just put the file on an SD card, plugged it into the Ultimaker 2+, and let the machine do the rest – we were very proud of our first real print. Next, I tried myself on modifying a batarang by adding writing to it. That also worked out very well and made a friend of mine a great birthday gift.
What surprised me most was the steep learning curve with 3D printers. Doing more research on the history and applications of 3D design and printing, I realized how accessible the technology already is. Many people talk about 3D printing making it into mainstream households soon, but it never seemed feasible enough to me until I did more research on it.
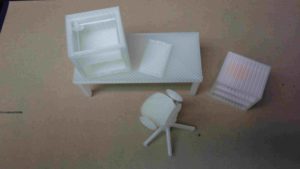
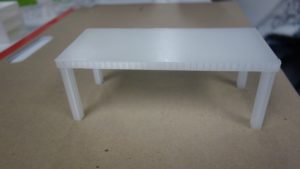 After a few weeks of getting to know the machines and playing around with the design programs, Emmi and I decided on a final project that would include designing our own objects from scratch. As a thank you to Angela, we would create a mini makerspace with a table, a 3D printer, a clipboard, a shelf with filament roles, and a chair. Easy enough, the table I designed was simple and worked out on the first try. The clipboard posed no difficulties either. However, when it came down to printing the office chair I had designed in Tinkercad, the odyssey began.
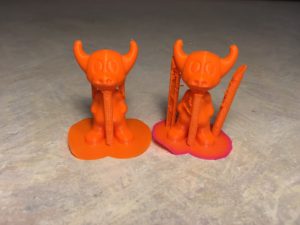
The first trial showed that it would be a challenge to make sure the delicate legs and wheels of the chair would stay in place. Once the nozzle was done with the wheels and started to print the legs, it would push some of the wheels over so that the machine could not keep building up layers in the right places.

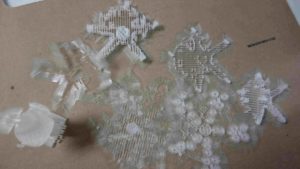
A few times, when I thought it would work out fine, the nozzle completely clogged (which happened throughout our tutorial once in a while) and ruined the print. Alright, I needed to make the chair bigger anyway so I figured the wheels, forming the fragile bottom part of the object, would have more grip that way. That turned out to be misguided. Next, I tried to add additional supports using a program called Meshmixer. Those supports looked nice on the screen, but our Ultimaker could not handle them and kept clogging up. At this point, I had run through about ten trials, nine days, and a lot of filament trying to get the machine to birth me a chair.
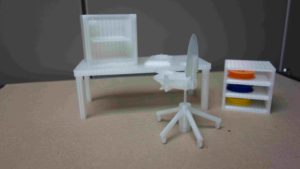
Everything else was done: I had the table and the clipboard, Emmi had a little 3D printer model and the shelf with three filament roles in it. The whole scene was made out of clear filament, except for the filament roll duplicates. And we were running out of clear filament. I estimated that I had one try left before I would have to use a different filament color. Desperately, I added square blocks around the wheels of my office chair in Tinkercad, hoping they would help keep the bottom layers (the wheels) down on the platform. Sure, these were not “professional” supports, but I was out of options at this point.
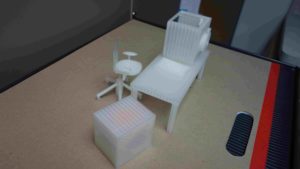
So I started the print, hopefully the last, made sure it printed past the wheels and legs (which it did this time!) and left because I was worried the filament would run out before the chair was done and I could not bear the suspense. When I came back to check on it after dinner, the machine was still. The only light in the room came from the Ultimaker 2+, shining on what I hoped to be something resembling an object people sit on. I walked closer. I could see that there was just enough filament left to feed into the machine, otherwise the role was completely drained. And FINALLY. Finally, I could hold my office chair, the whole thing, in my hands. Our final project was complete.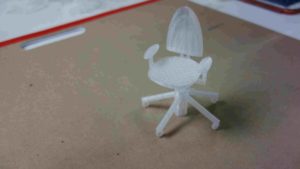
What struck me most going through the process of making one object printable was how many small details count when 3D printing. While 3D printing is on the rise, it takes someone who is willing to investigate and engage with the technology as a hobby to make prints past a certain level of complexity work. At the same time, the learning curve for using these machines and programs is incredibly steep; once I realized I do not have to handle the Ultimakers using velvet gloves and started experimenting around, I learned a lot very easily just by trying things out. For me, the hobby aspect of it makes it even more exciting, and I wish I had discovered the Makerspace earlier. That being said, I am very glad Angela took us on and enabled us to explore this technology more. 3D printing will define this century, and I will most likely return to it as soon as I get a chance, even after I leave Lawrence.